Dimensions and installation⚓︎
This page contains helpful information if you are planning on installing CloudBoxxes into vehicles. This page’s content is relevant to all CloudBoxx installations, independent of the CloudBoxx version and vehicle model. For more specific information, refer to the installation instructions in SmartControl.
Dimensions⚓︎
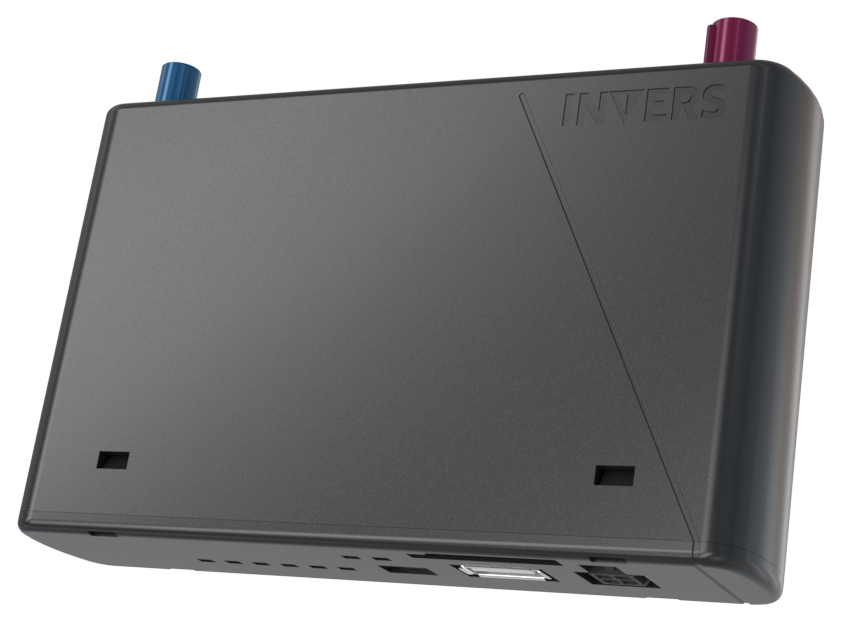
CloudBoxx 4G⚓︎
The dimensions of the CloudBoxx 4G and the CloudBoxx 1020 are:
| Dimension | Measurement |
|---|---|
| Length | 131 mm |
| Width | 95 mm |
| Height | 28 mm |
With the connectors attached the dimensions increase to:
| Dimension | Measurement |
|---|---|
| Length | 131 mm |
| Width | 110 mm |
| Height | 28 mm |
CloudBoxx 3G⚓︎
The dimensions of the CloudBoxx are:
| Dimension | Measurement |
|---|---|
| Length | 130 mm |
| Width | 100 mm |
| Height | 27 mm |
With the connectors attached the dimensions increase to:
| Dimension | Measurement |
|---|---|
| Length | 130 mm |
| Width | 130 mm |
| Height | 27 mm |
Installation⚓︎
The CloudBoxx was developed and designed for installation in vehicles with limited space for vehicle accessories. The slim design allows for various installation options. When choosing an installation location, ensure the chosen spot wil remain dry at all times.
You have multiple options for fastening the device:
- Run zip ties through the fastening-channels
- Use Velcro-tape
Both options allow for a quick and secure installation. If you decide to use Velcro-tape, ensure the installation spot is suitable for this type of installation. Independent of your chosen installation method, you have to ensure the CloudBoxx cannot cause any secondary failures or impairments to the car handling. This means that the device cannot become unfastened, rattle, or fall down to the foot well during the trip.
Connect all connectors to the on-board unit and reconnect the car battery. Then, check if all connectors are connected properly. Finally, double-check the fitting spots and the installation.