Fleet Viewer⚓︎
Fleet Viewer shows your fleet units. It provides many actions related to the management of your vehicles and allows you to create custom topics to provide highly customizable perspectives matching your use cases. Nearly all actions related to the management and administration of your fleet can be applied to one or multiple fleet units with Fleet Viewer.
The list⚓︎
The list is the core of Fleet Viewer and contains all fleet units with each row representing a single one. You can filter the list or apply topics to search for fleet units that fulfill specific criteria. You also have access to certain actions from the list.
Columns⚓︎
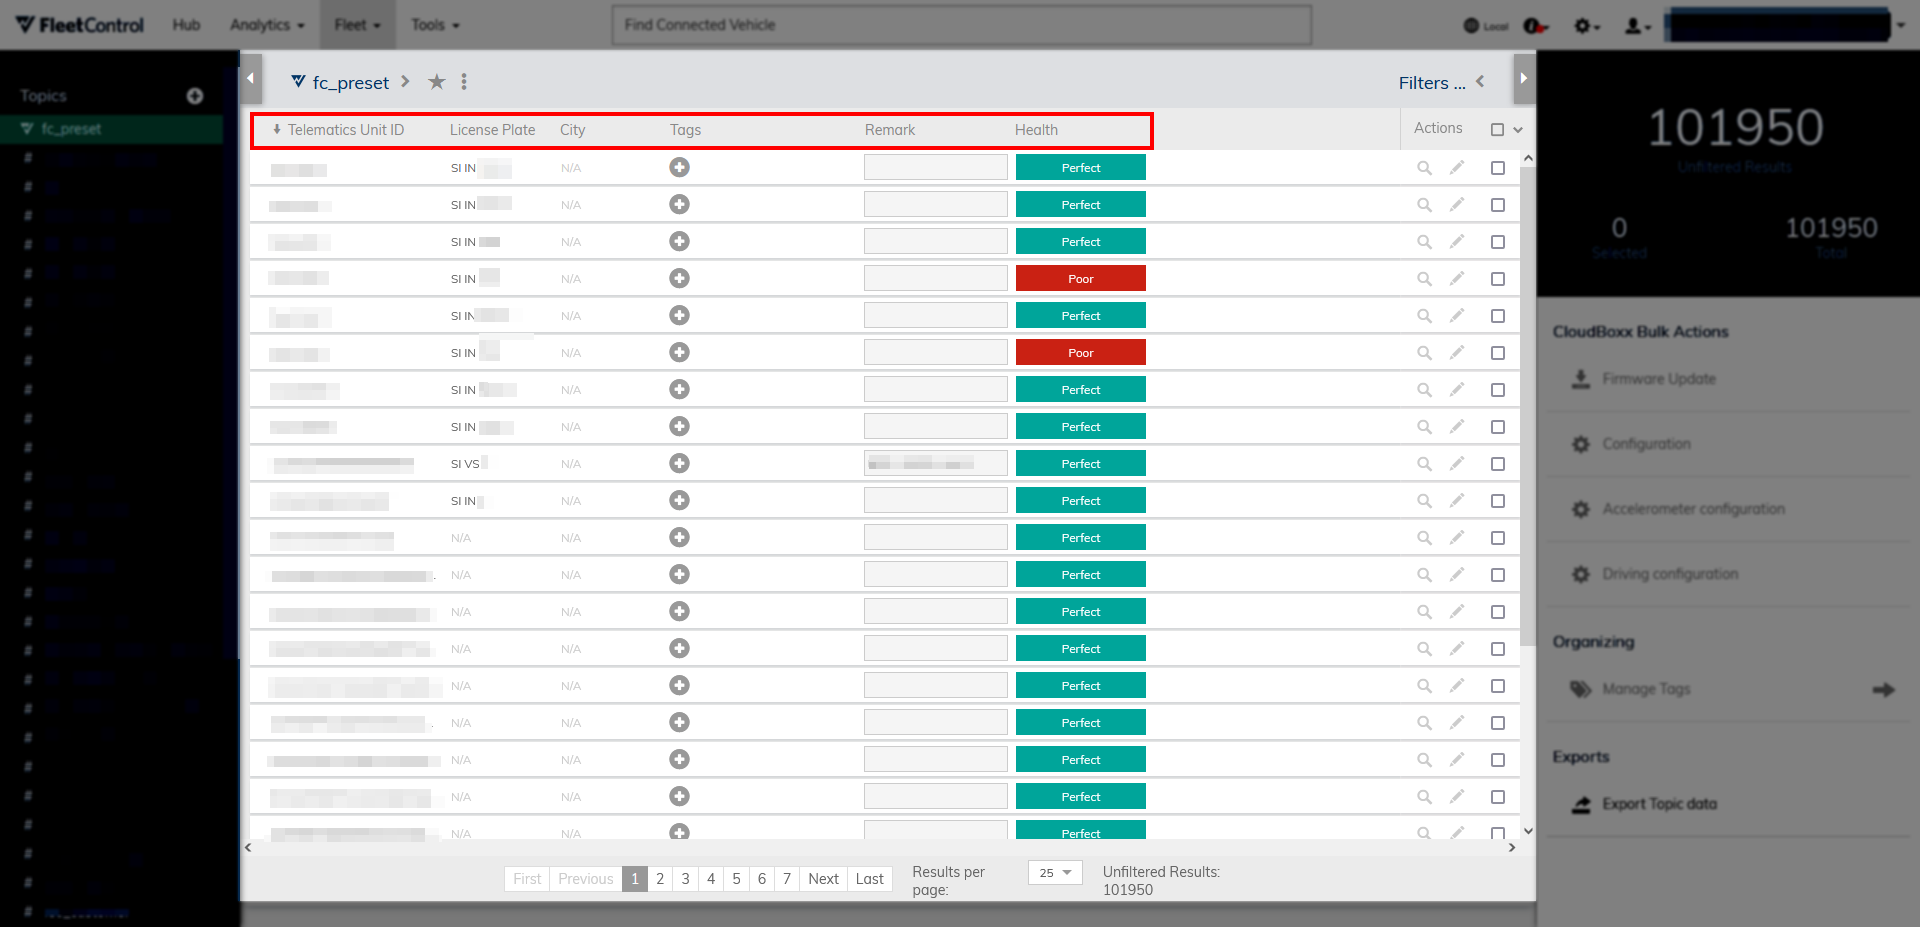
The list is divided into columns that each contain a single piece of information per fleet unit. For example, a column containing the license plate of every fleet unit can be added. You can sort any column in de- or ascending order by clicking on its name. Columns can be added or removed from the list with filters and topics.
Actions⚓︎
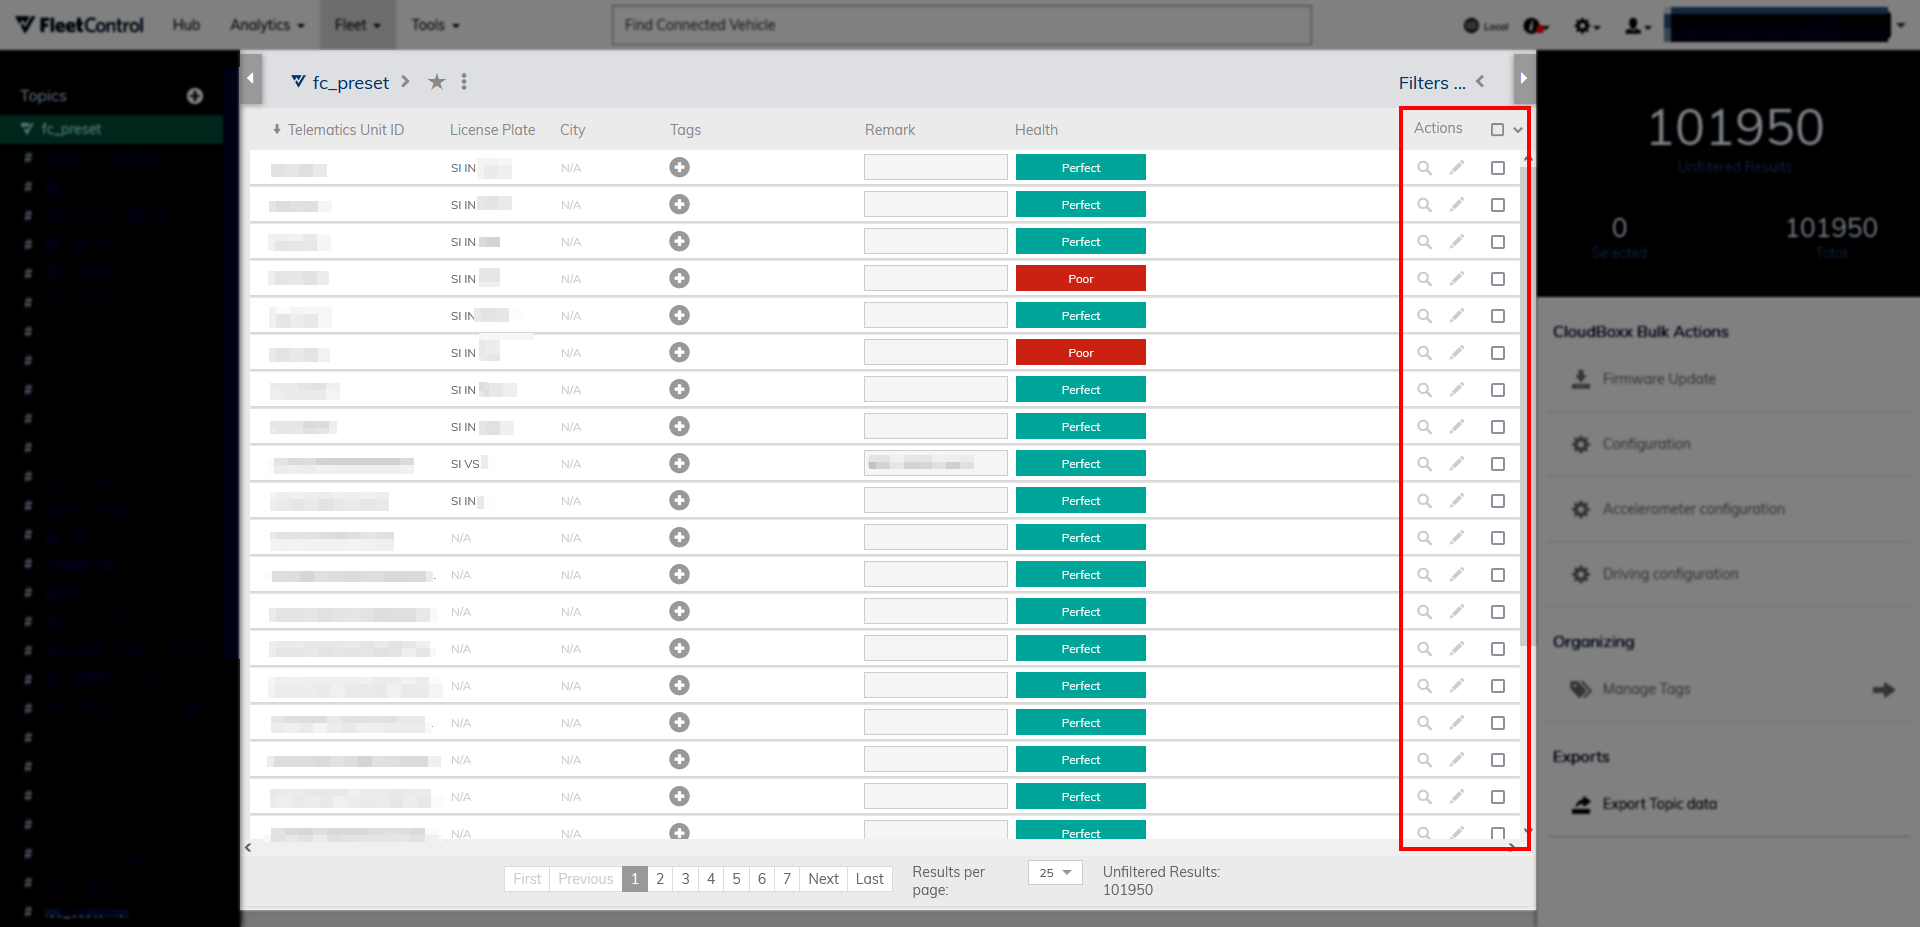
On the right of the list, you can execute certain actions and mark fleet units as selected.
To open the inspect view for a fleet unit, select the magnifying glass icon.
To edit a fleet unit’s data, such as license plate or VIN, select the pen icon.
You can select individual fleet units by checking the box in their respective row or select all fleet units that match your current criteria by checking the box at the column-level.
Filters⚓︎
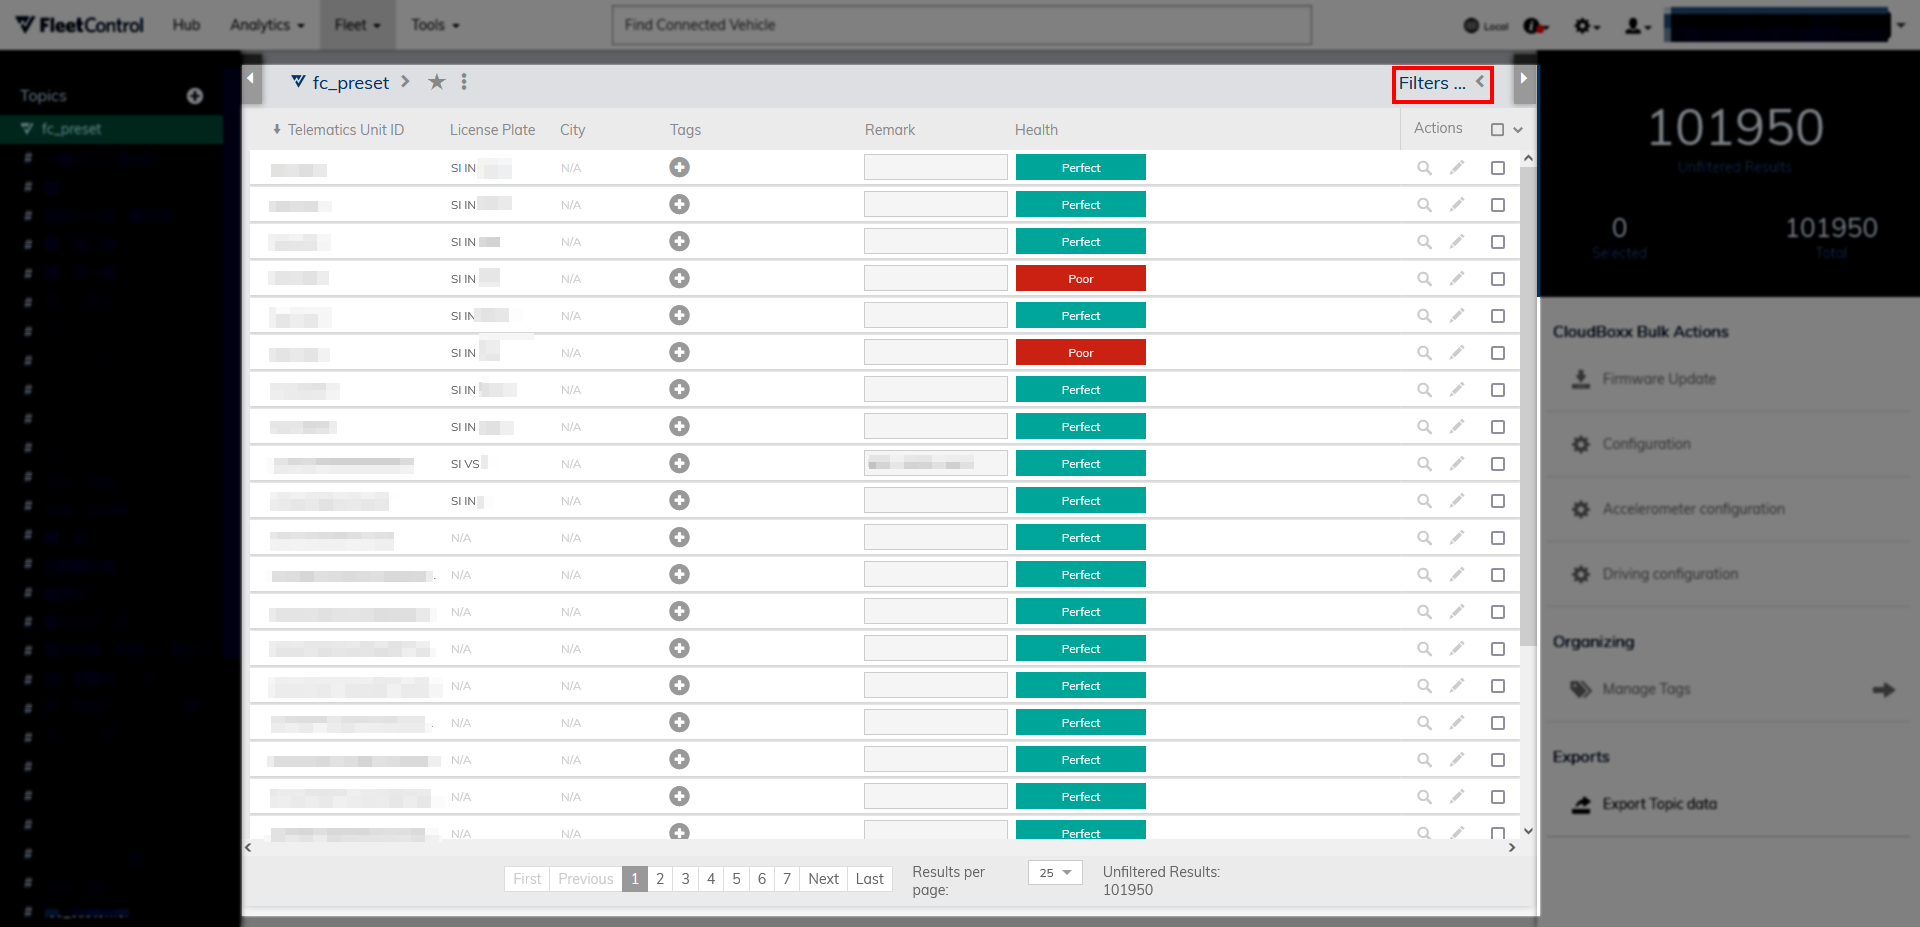
You can apply and combine filters to search for fleet units that fulfill specific criteria. To apply filters, follow the steps below:
Step 1: Open the filter menu in the top right.
Step 2: Select a filter from the list of available ones.
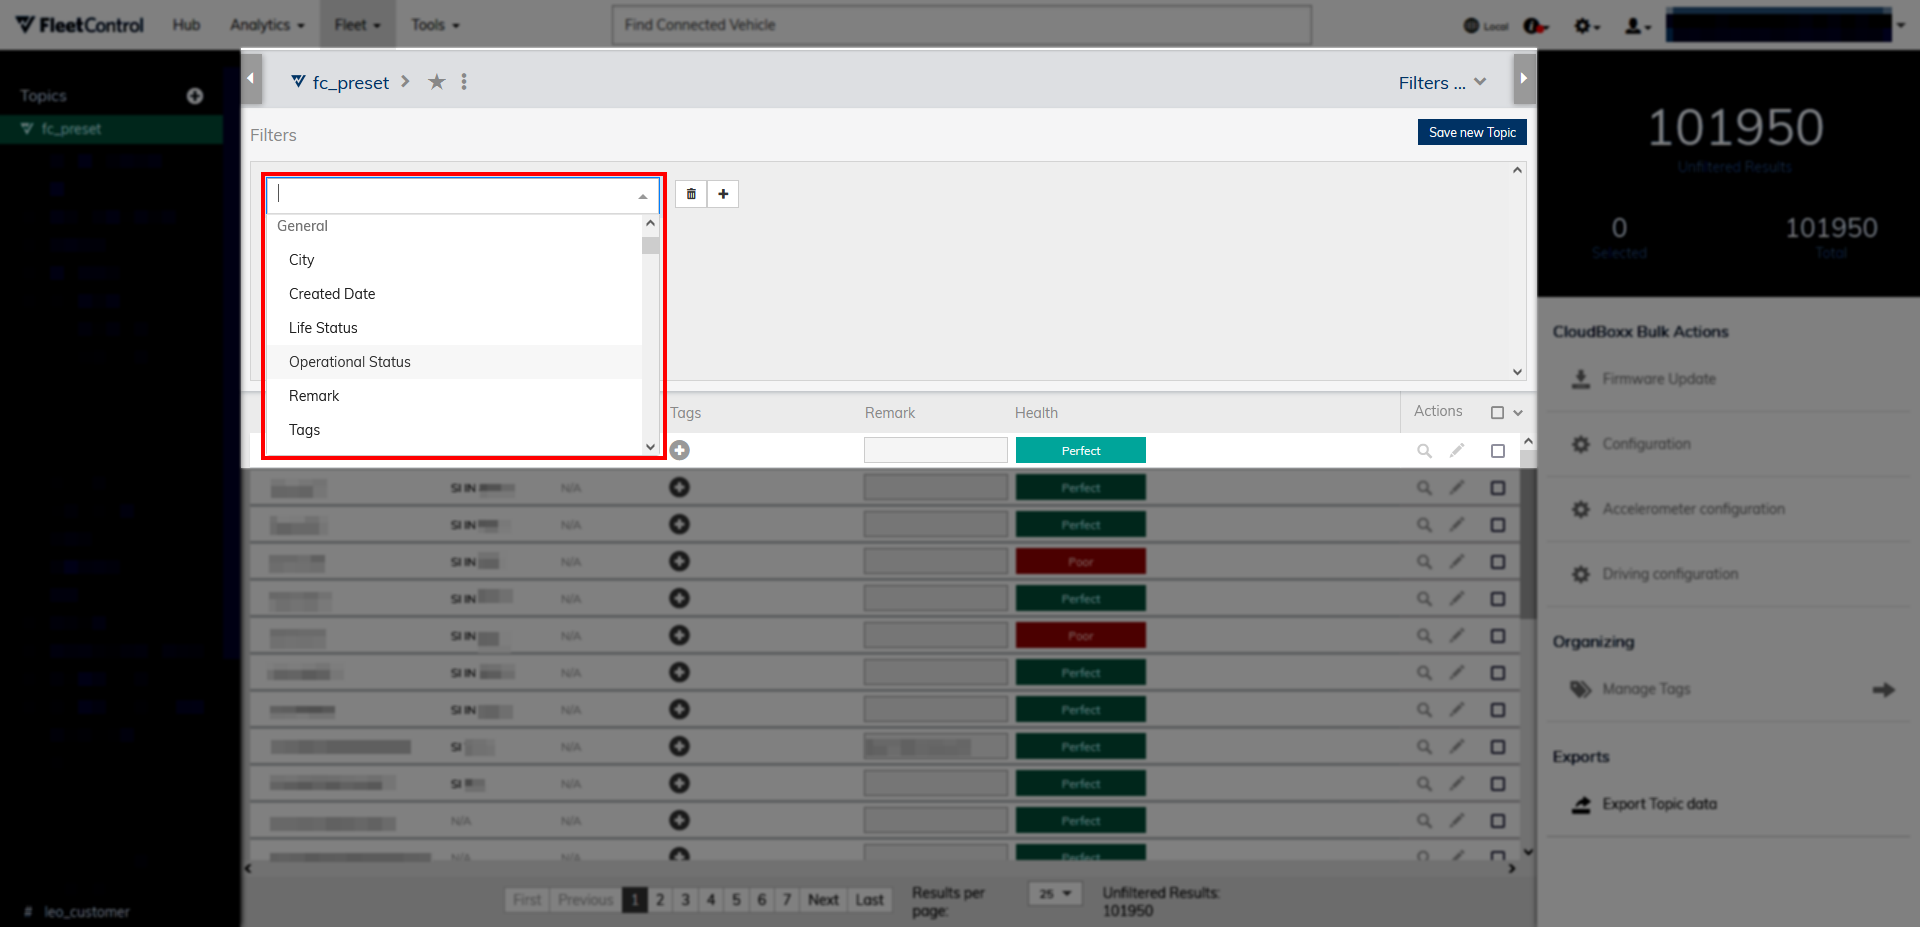
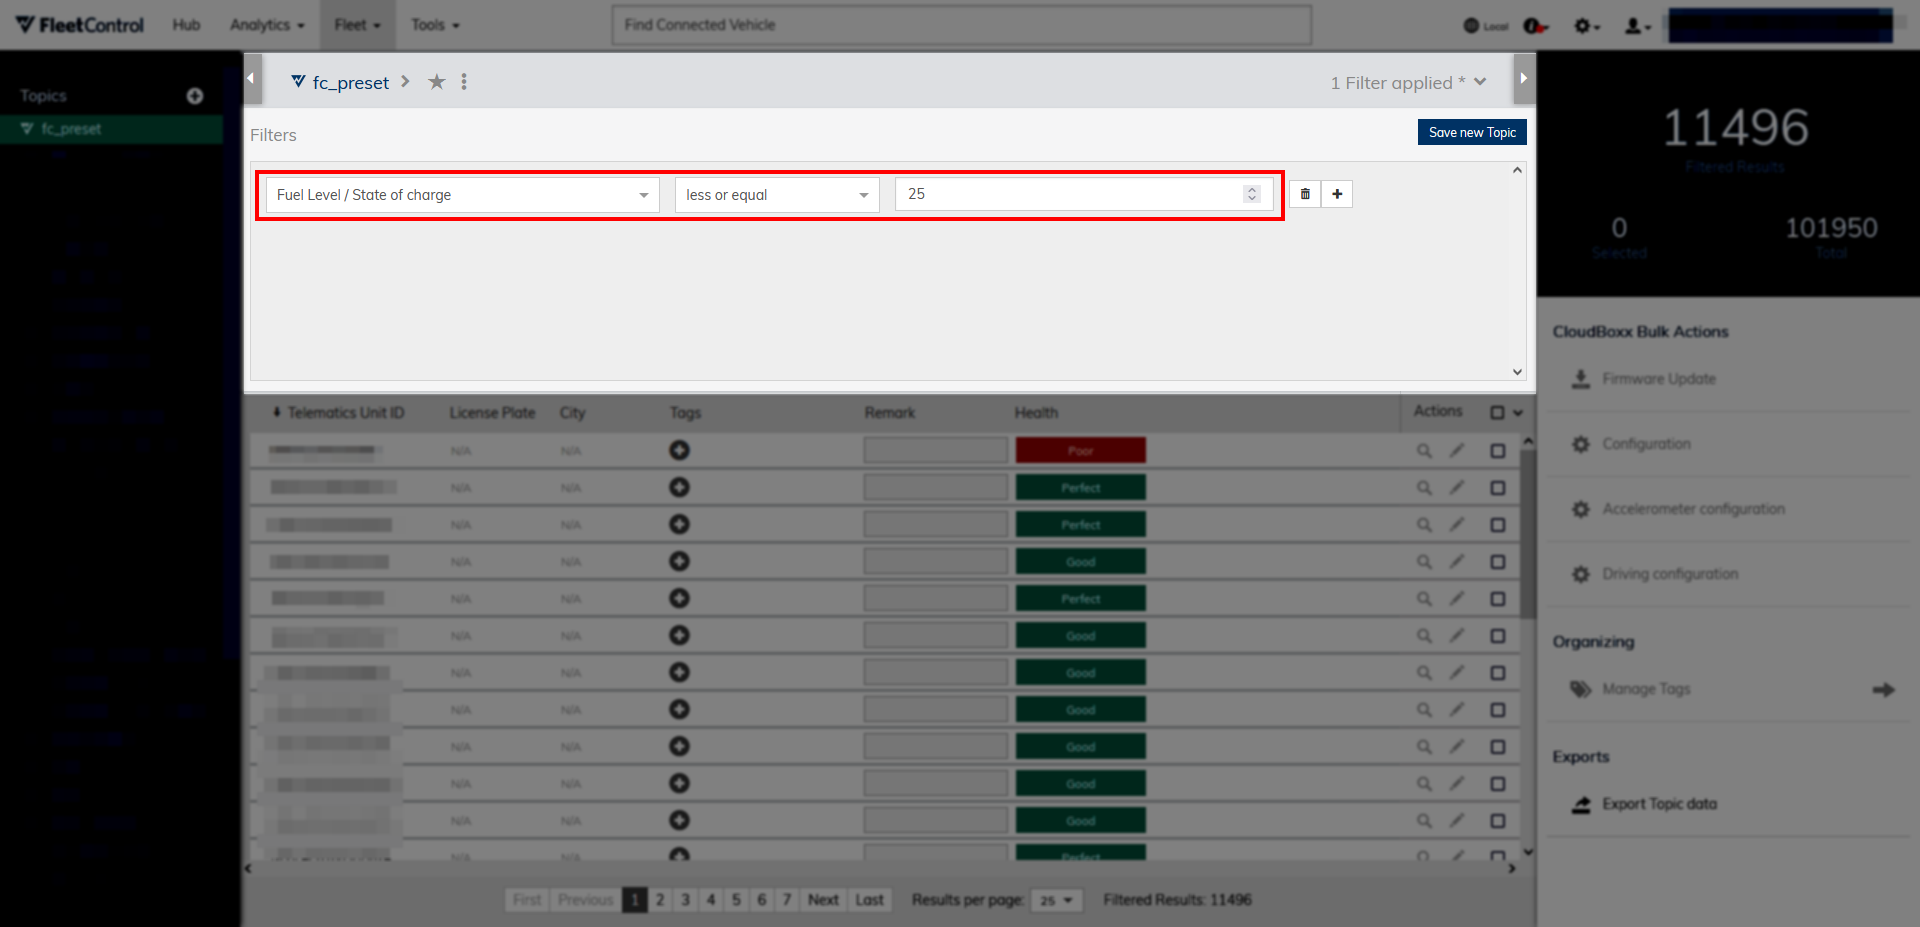
Step 3: Configure the filter to match your needs. In this example, the goal is to filter for fleet units that have a fuel level of less than 25%. So, after selecting Fuel Level / State of Charge, the operator less or equal and the value 25 are added.
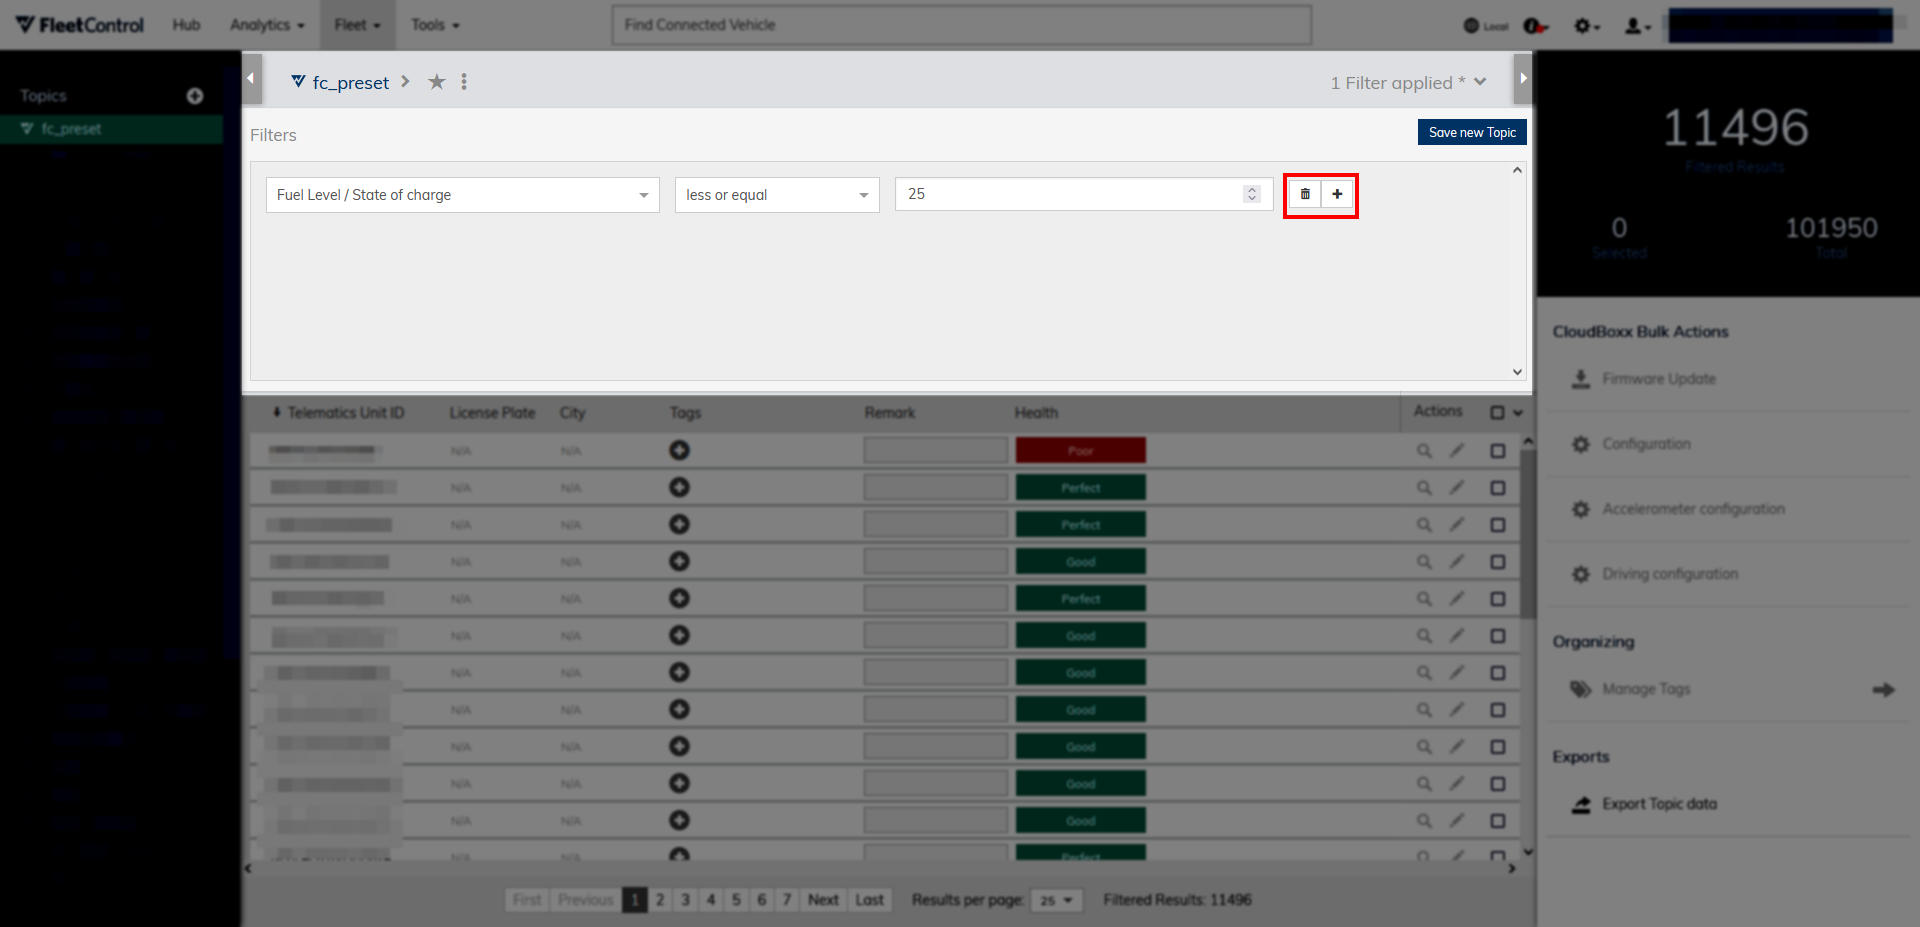
Step 4: You can delete selected filters and add additional ones with the buttons on the right.
CSV filtering⚓︎
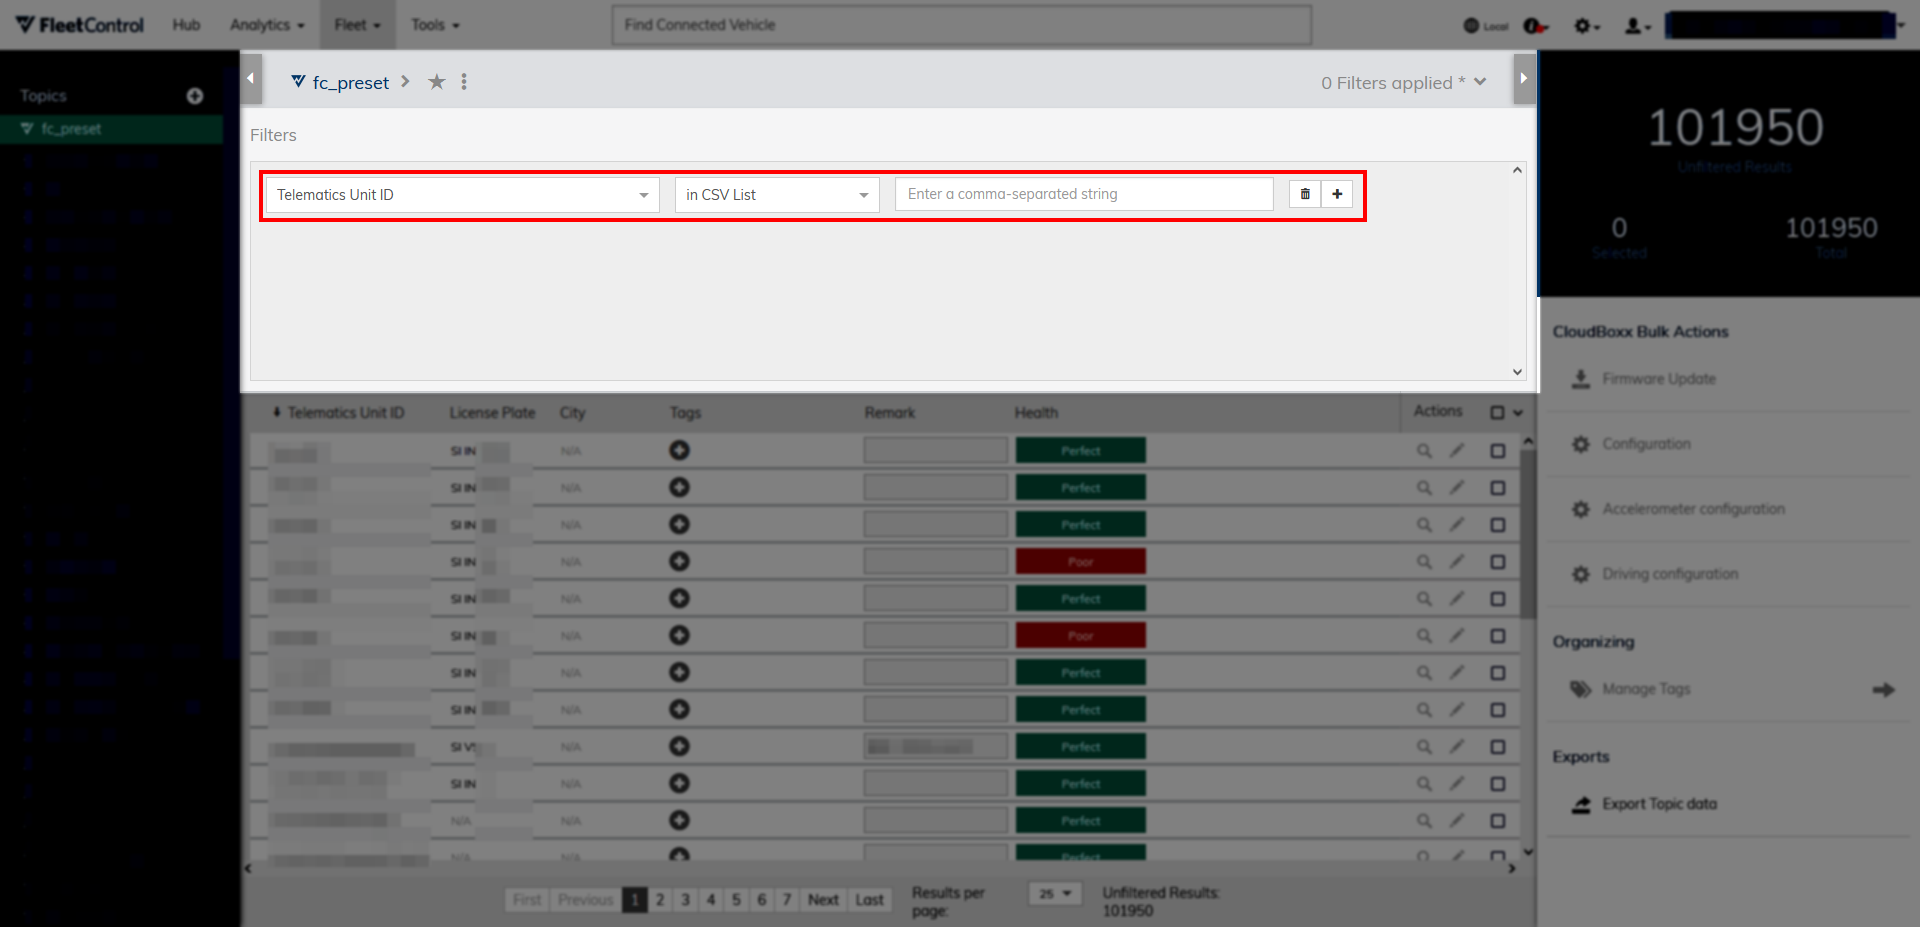
You can search for multiple vehicles at once by using a comma-separated list of telematics unit IDs. This list has to be formatted as in this example:
E51E67E0B16C6202,DDEE20F3F0F2GG13,ABBF12827FBD8C97
To search for entries, select the filter Telematics Unit ID and the operator in CSV List. Then, copy and paste a comma-separated string of the IDs to be searched for into the corresponding field.
Topics⚓︎
Topics are sets of filters that you can create and configure to quickly change the information Fleet Viewer shows. Each topic contains a collection of columns such as license plate or manufacturer. After a topic is selected, the list changes to only show the columns included in the topic’s configuration. This can be used to save filter configurations you use frequently. For example, you could create a topic that allows you to sort your fleet units by their firmware version.
You can select an existing topic by first opening the topics menu using the grey arrow on the top left and then selecting a topic. The topics menu also allows you to add new topics.
Creating a topic⚓︎
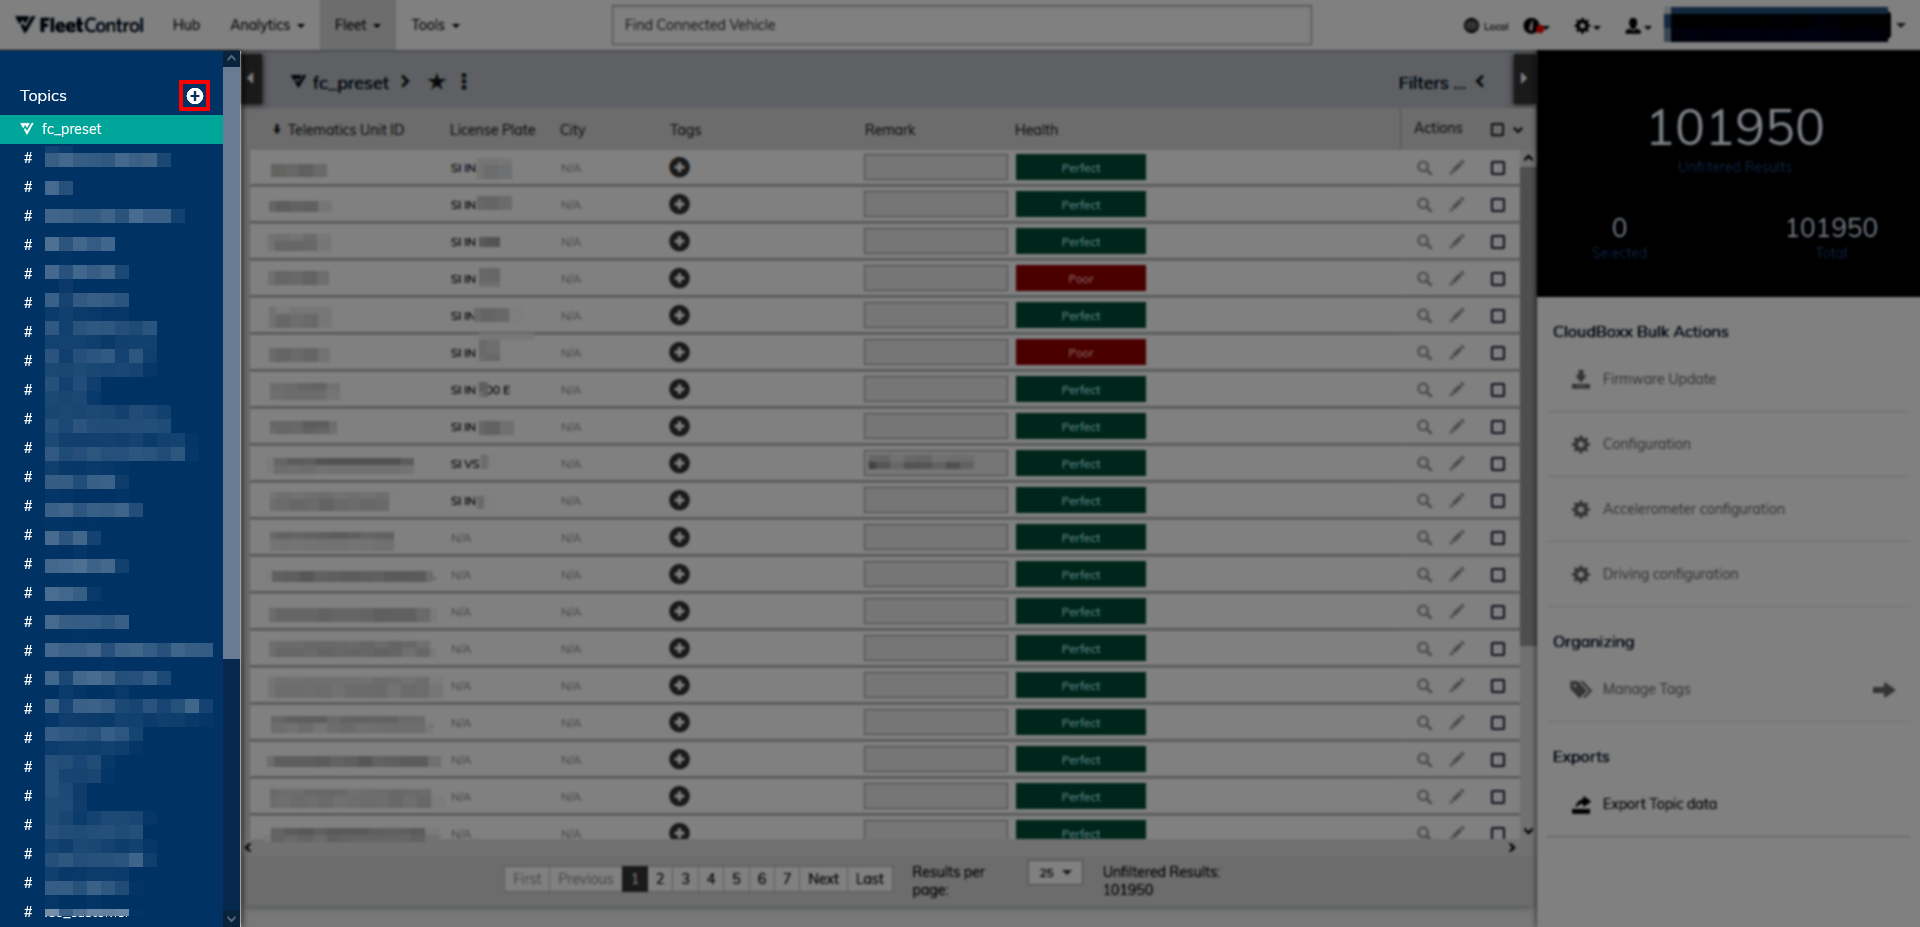
Step 1: In the topic menu, select the + symbol.
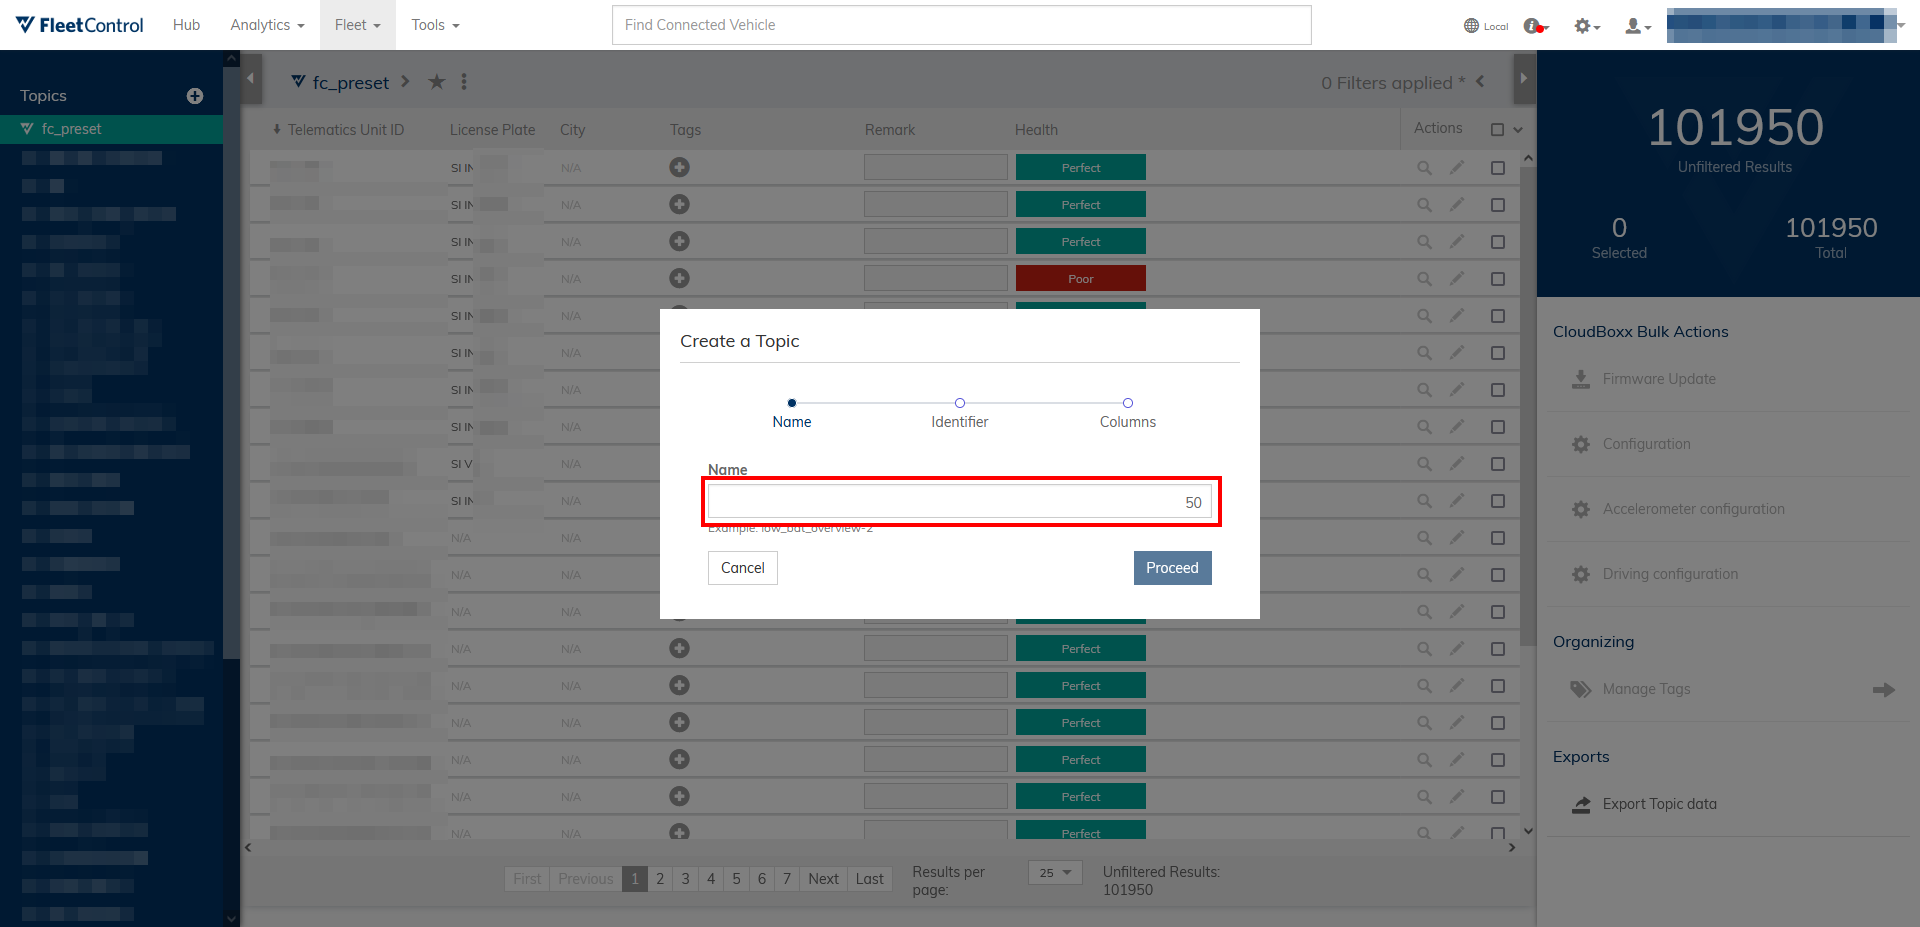
Step 2: Enter a descriptive name for the topic you are creating and select Proceed.
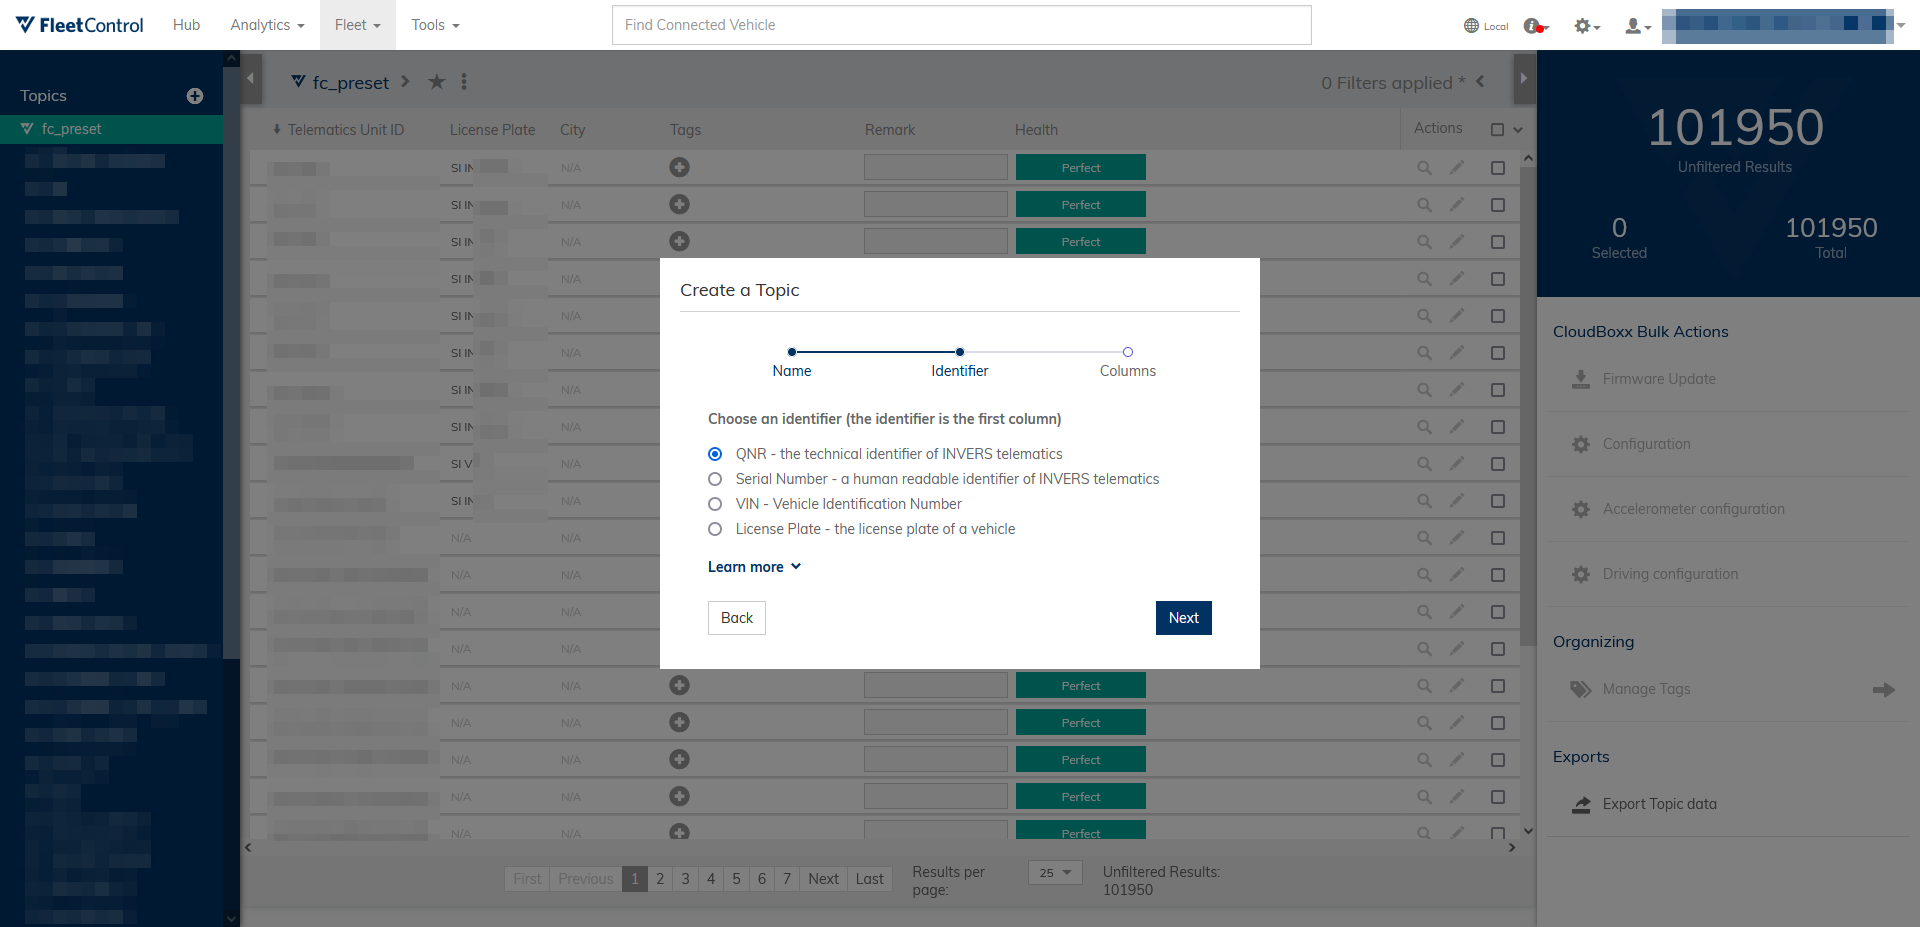
Step 3: Select an identifier. The identifier will be show in the first column of the list after selecting the topic and allows you to identify fleet units in the list more easily. Choose an identifier that fits the purpose of your topic. For the example, if you are creating a topic that shows the firmware version, the telematics unit ID would be a well suited identifier.
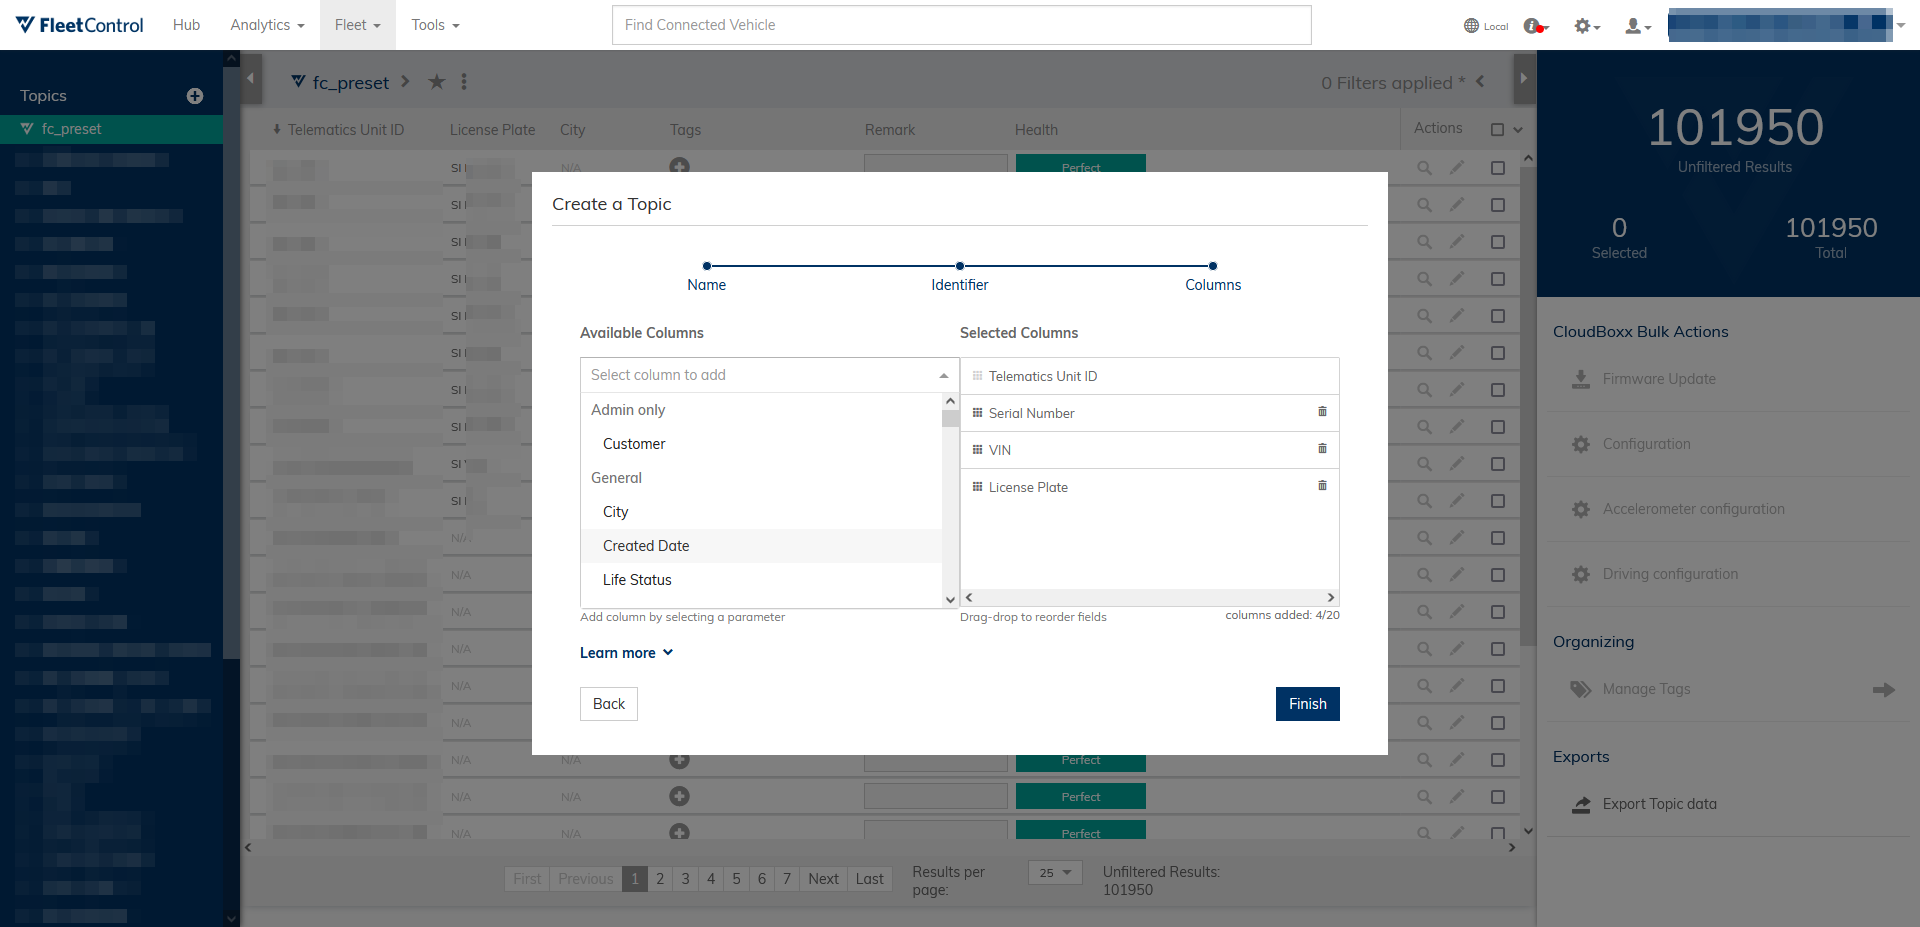
Step 4: Add columns to the topic from the selection on the left by clicking them. Drag-and-drop the already selected columns to change their order. Select Finish to save your topic.
Control panel⚓︎
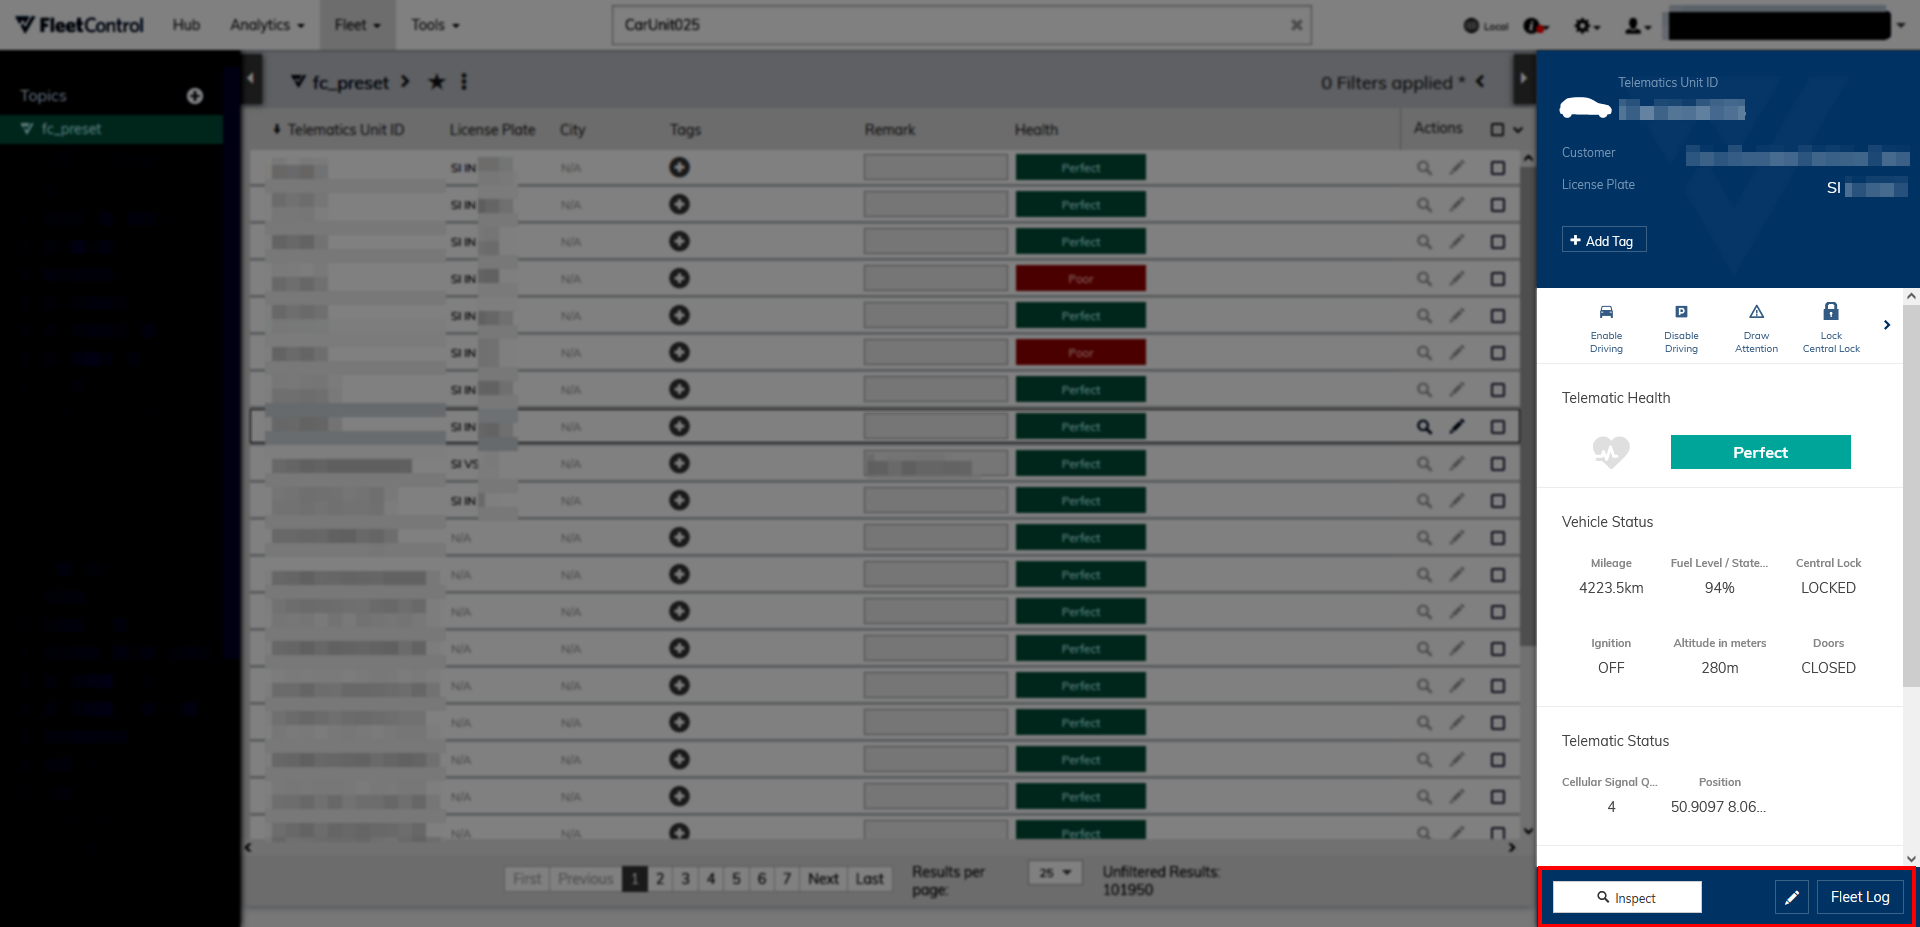
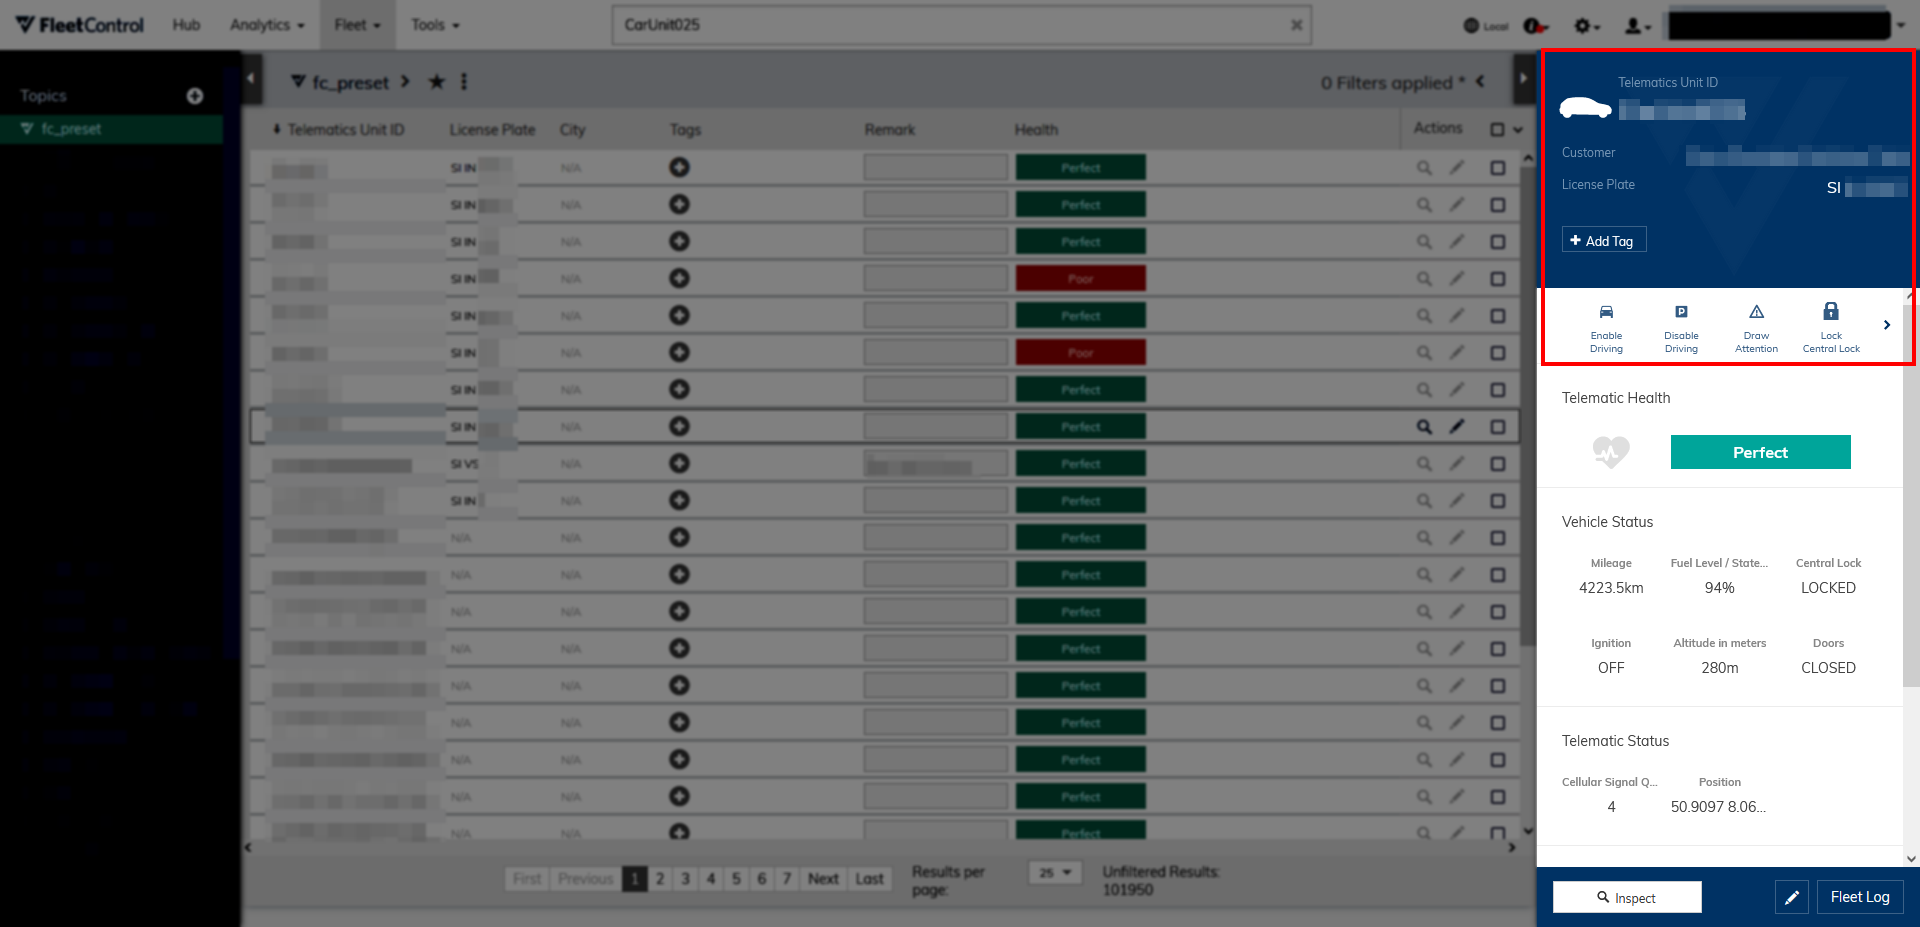
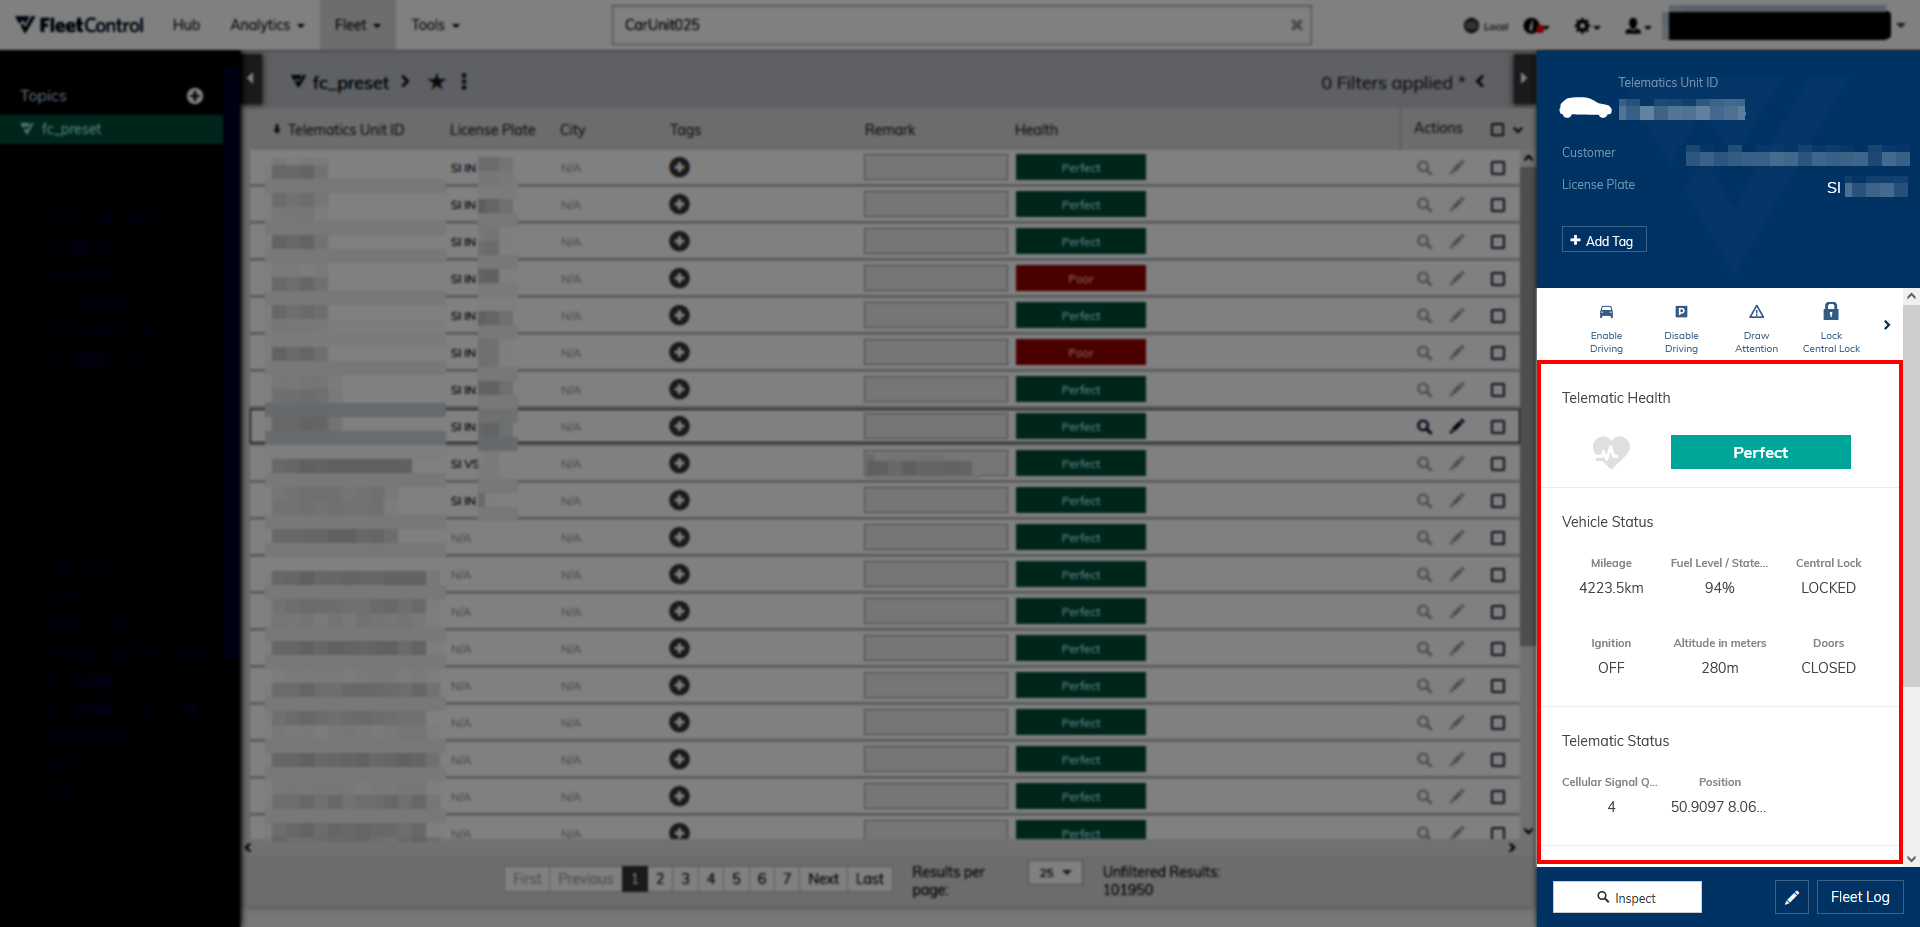
You can open a fleet unit’s control panel on the right by clicking on it in the list.
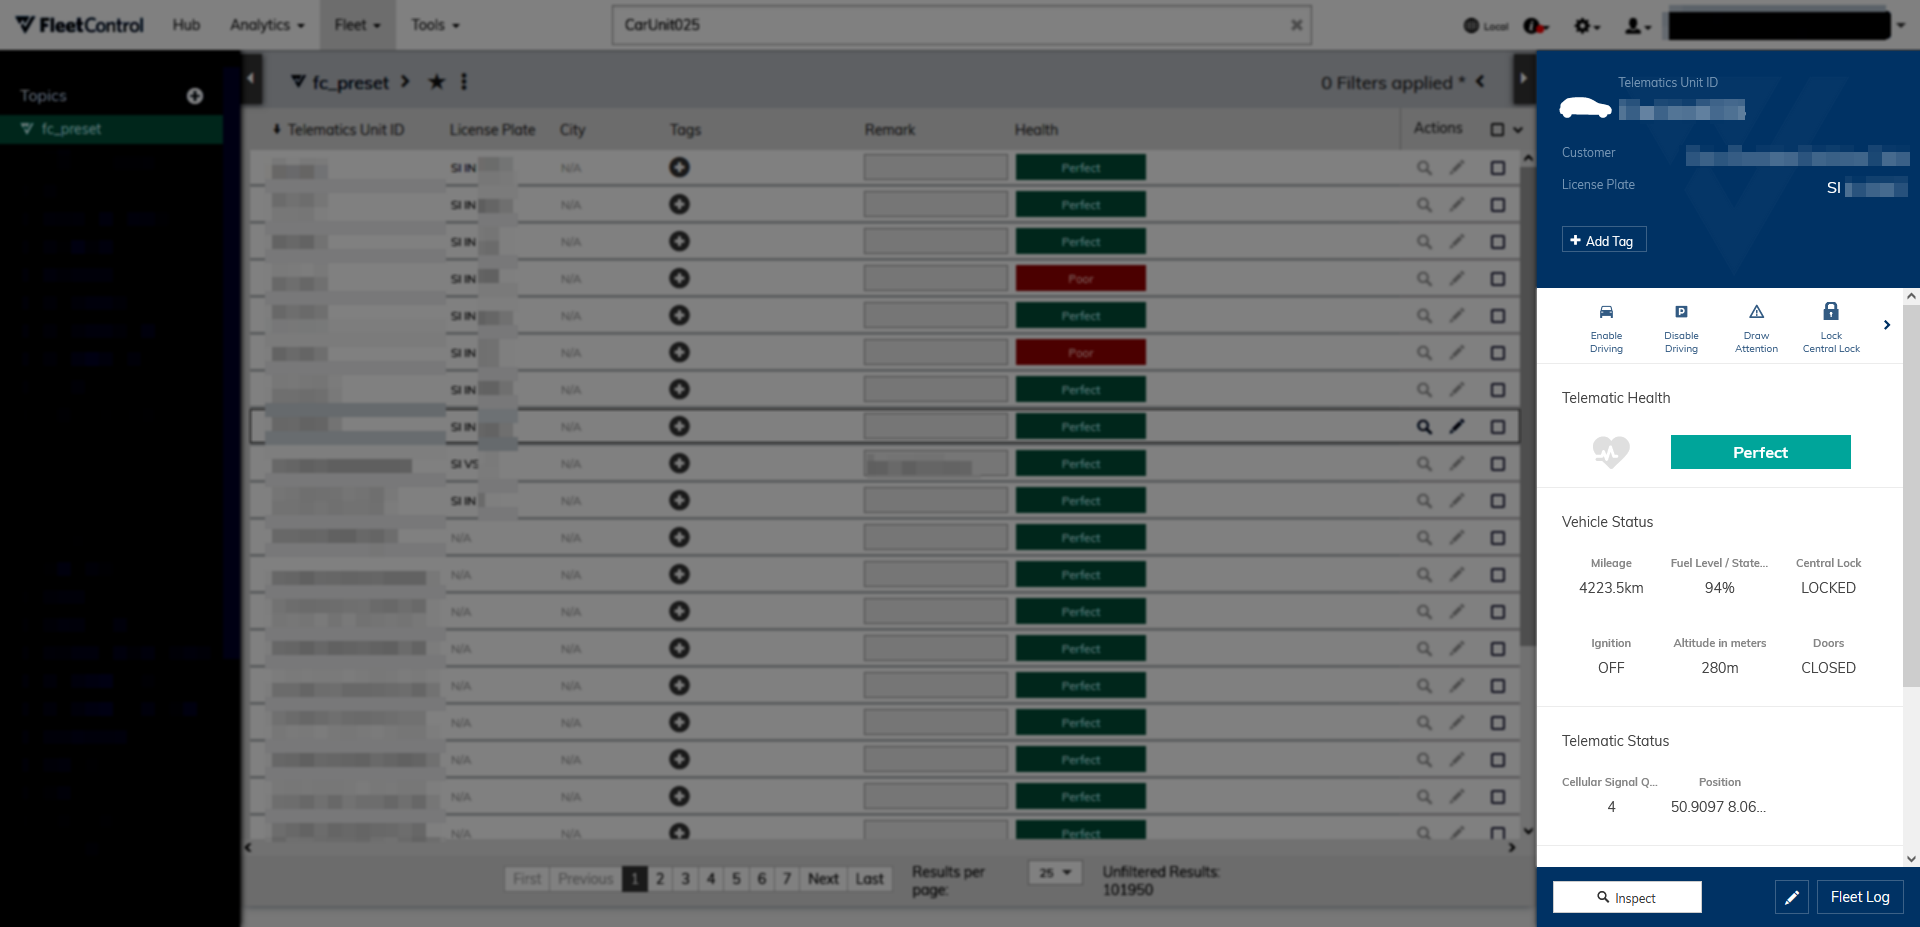
At the top, you can view the fleet unit’s master data and execute vehicle commands.
Below, you can view the fleet unit’s status data.
At the bottom, you have the option to view the fleet unit’s Inspect screen, edit its data, or open Fleet Log to view the fleet unit’s trips and events.
