Add Vehicles⚓︎
The Add Vehicles feature allows you to add single or multiple vehicles to your fleet. It is located in the Tools menu.
Adding vehicles⚓︎
Learn how to add vehicles to your fleet by following the steps below.
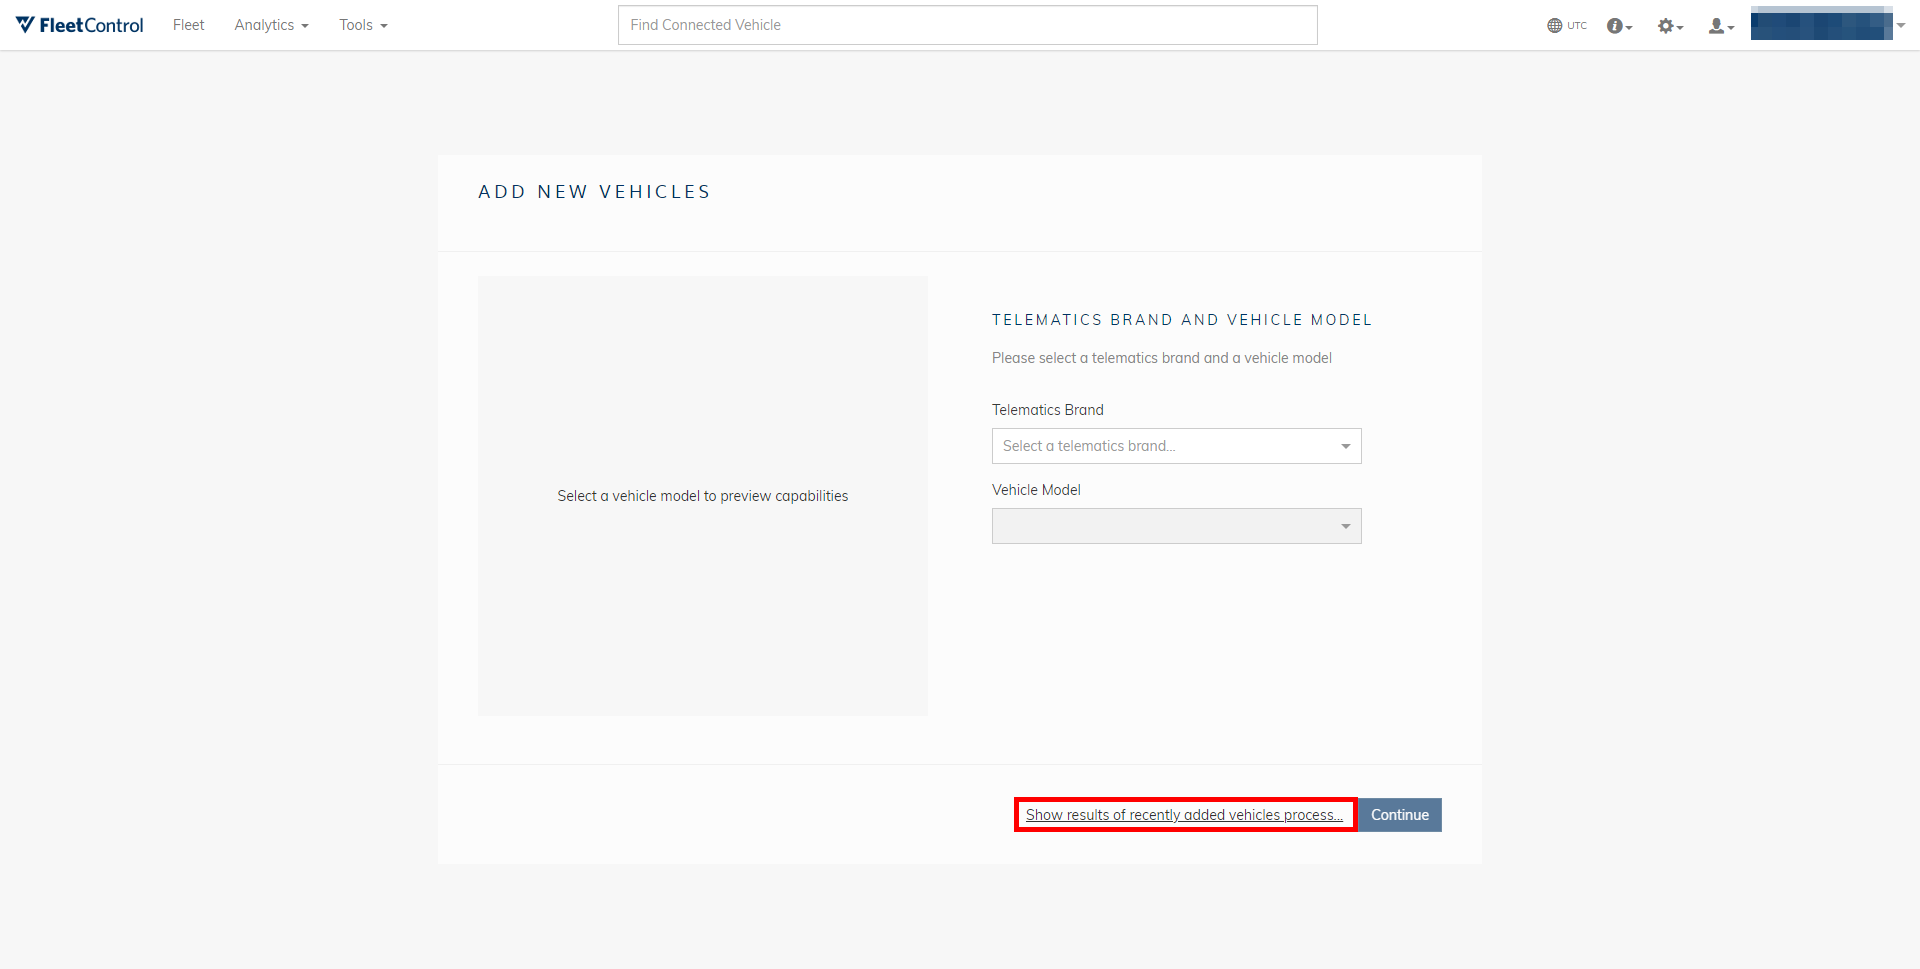
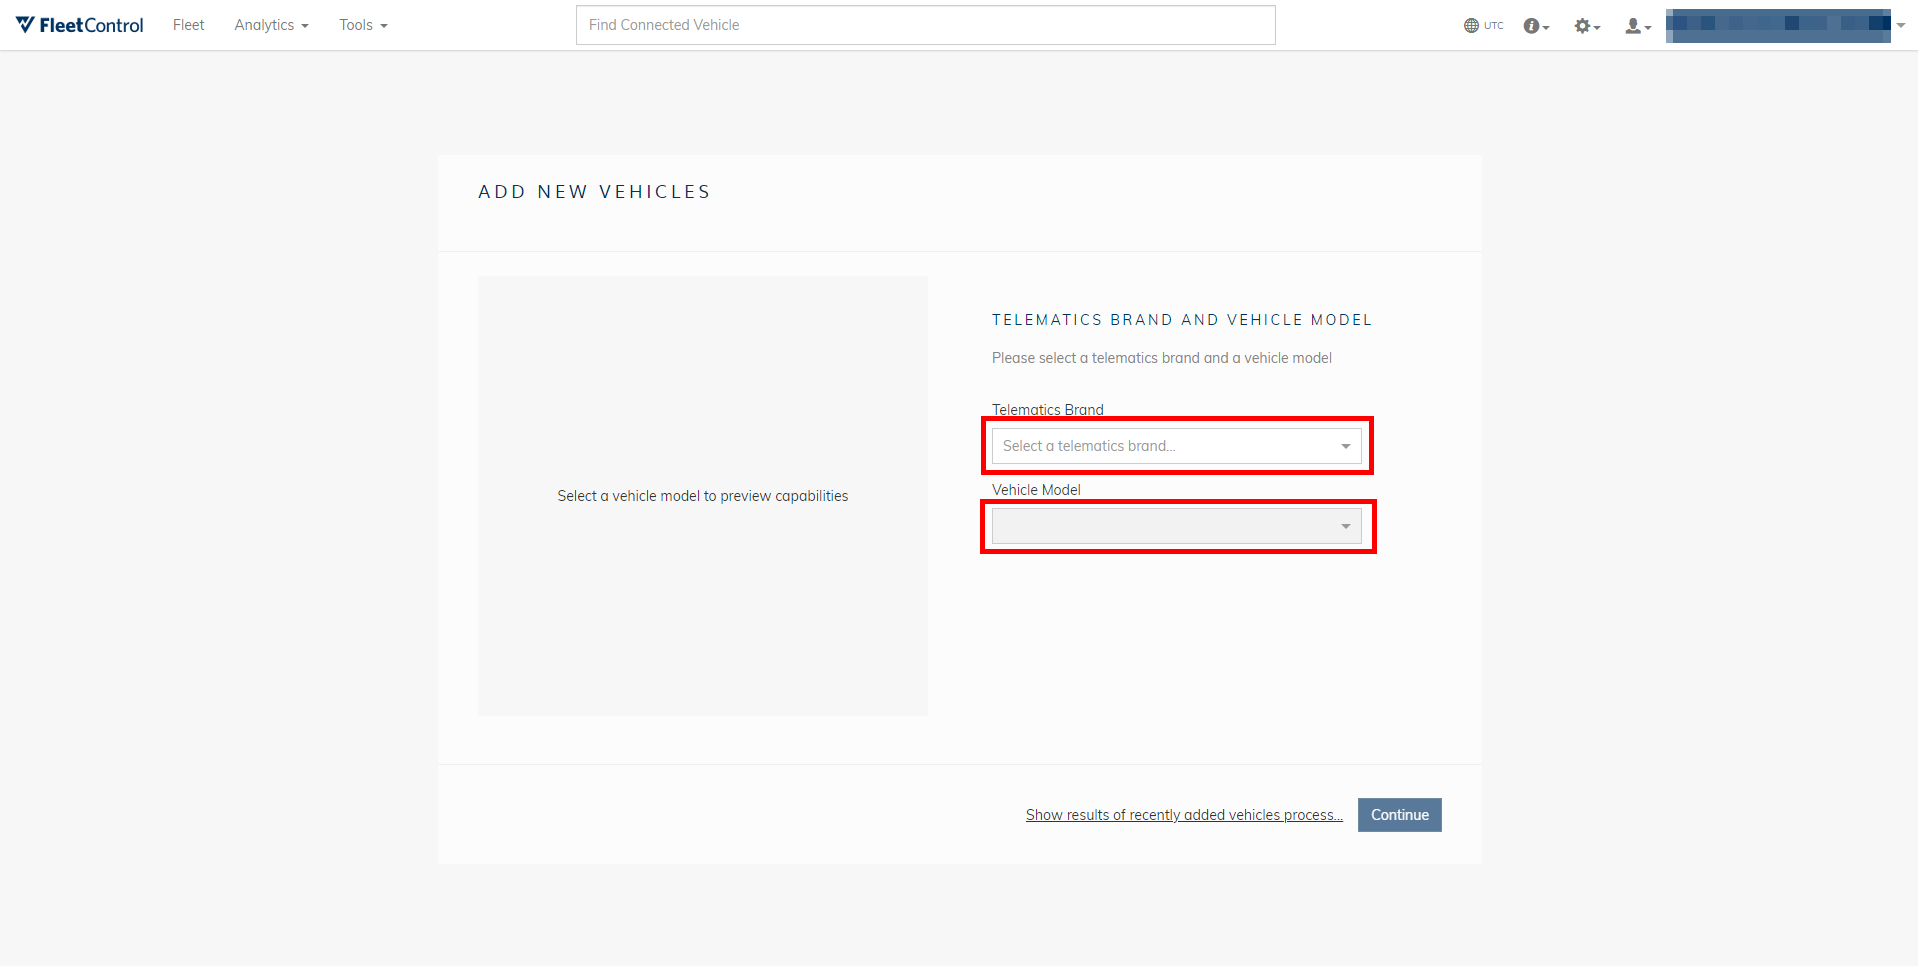
Step 1: To start adding one or multiple vehicles, select the telematics unit’s brand, the vehicle model model, and press Continue.
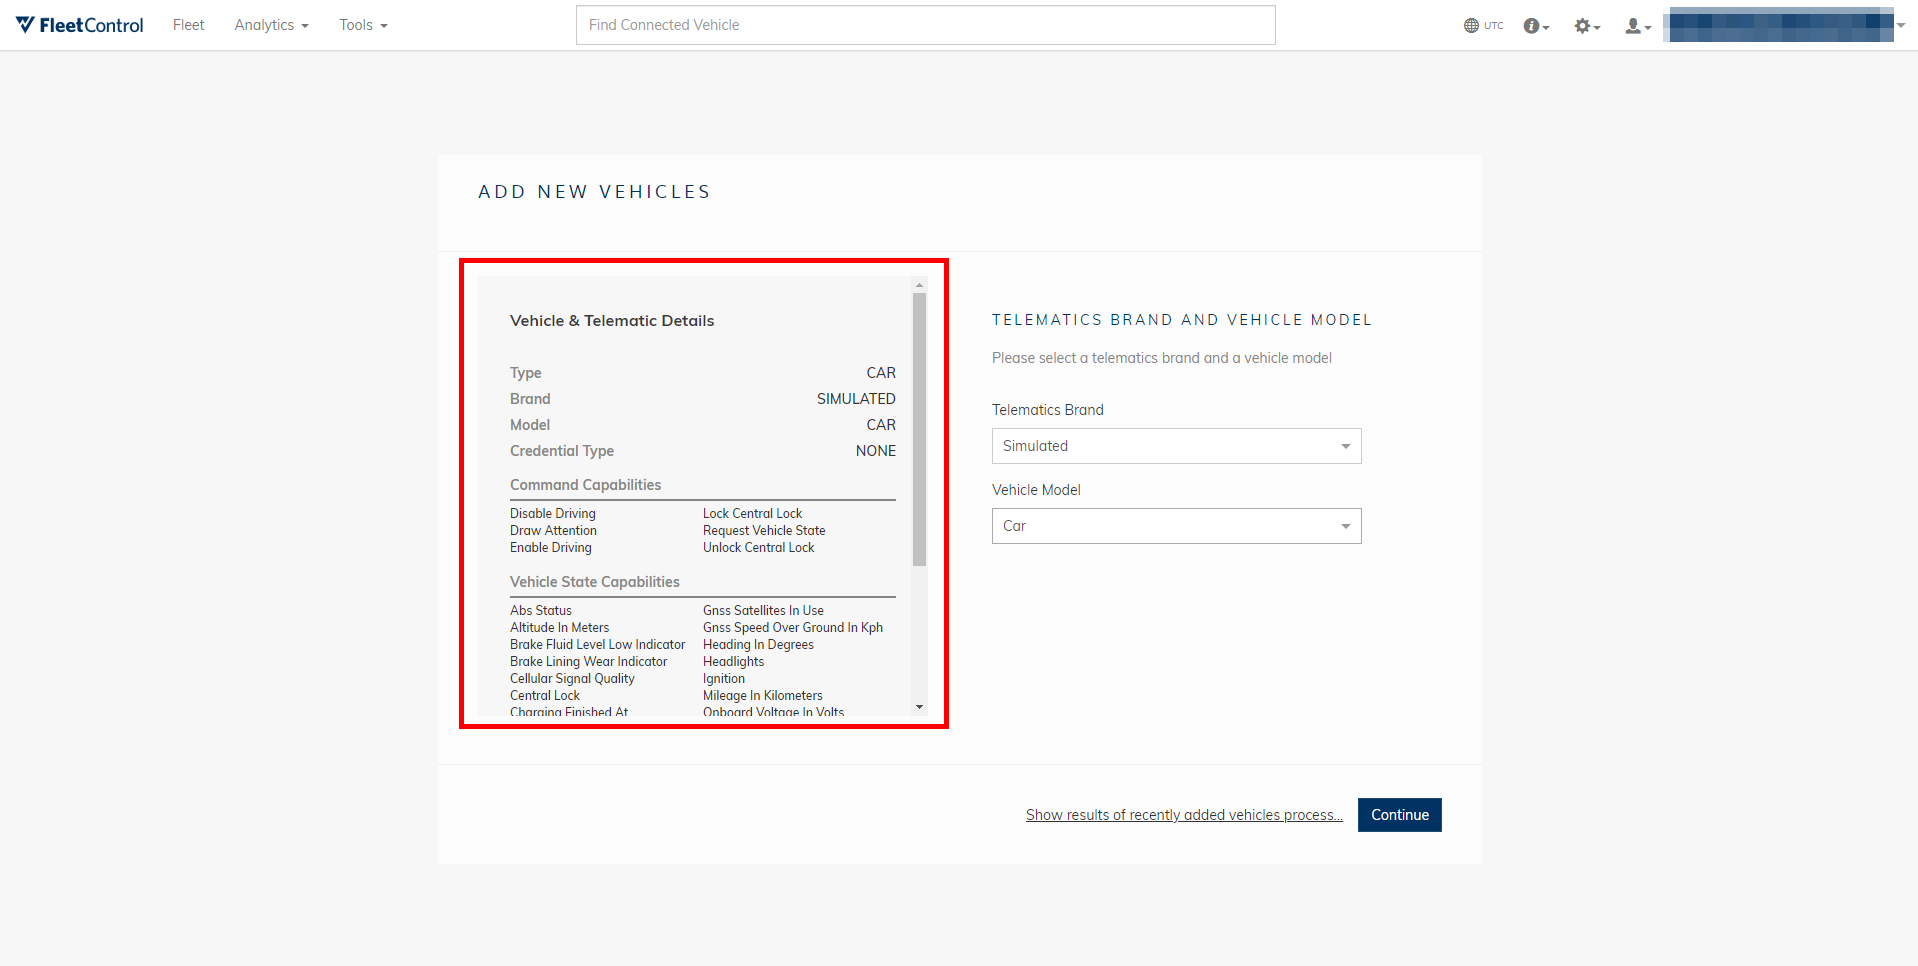
Step 2: Review the model’s specifications to ensure you selected the correct brand and model. Here, you can also find the supported capabilities. They describe the vehicle commands that will be available after you finish adding the vehicle to your fleet.
Step 3: Choose whether you want to add a single vehicle manually or multiple vehicles at once by uploading a csv-file. Select Continue.

Adding a single vehicle⚓︎
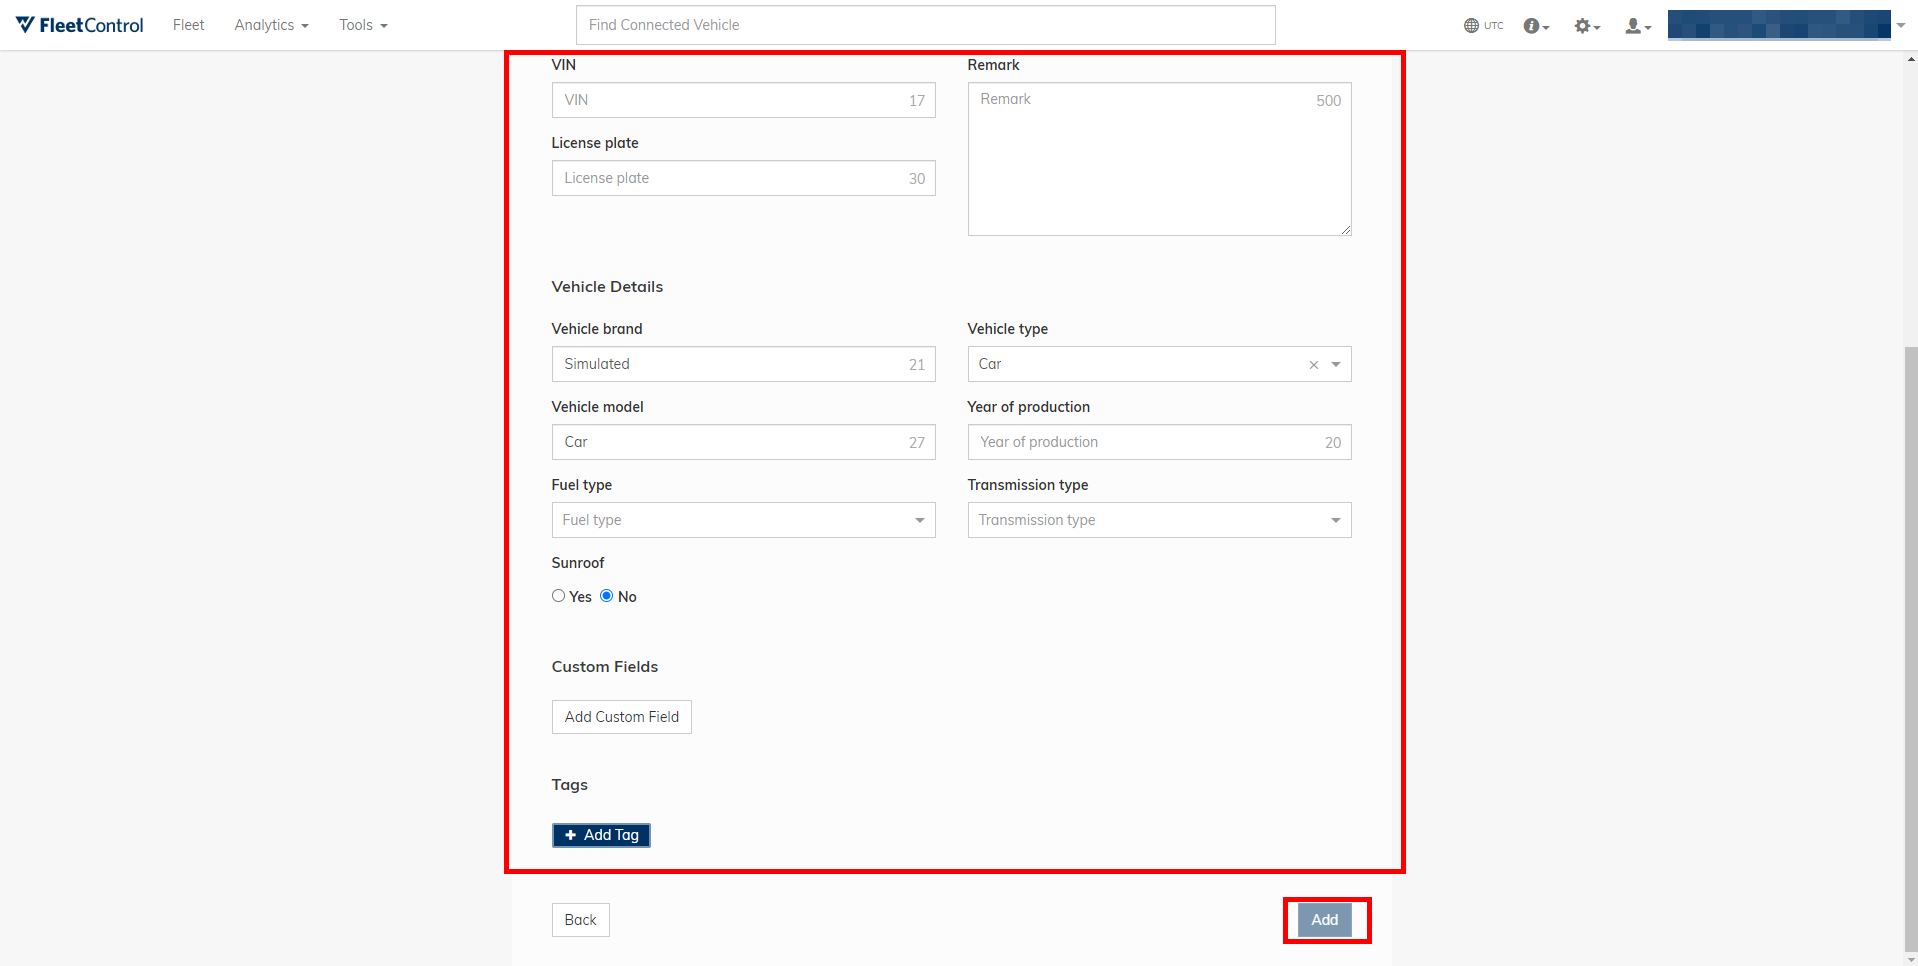
Step 1: Enter the required vehicle data. Optionally, you may also add remarks or add custom fields. After you have entered all required information, select Add.
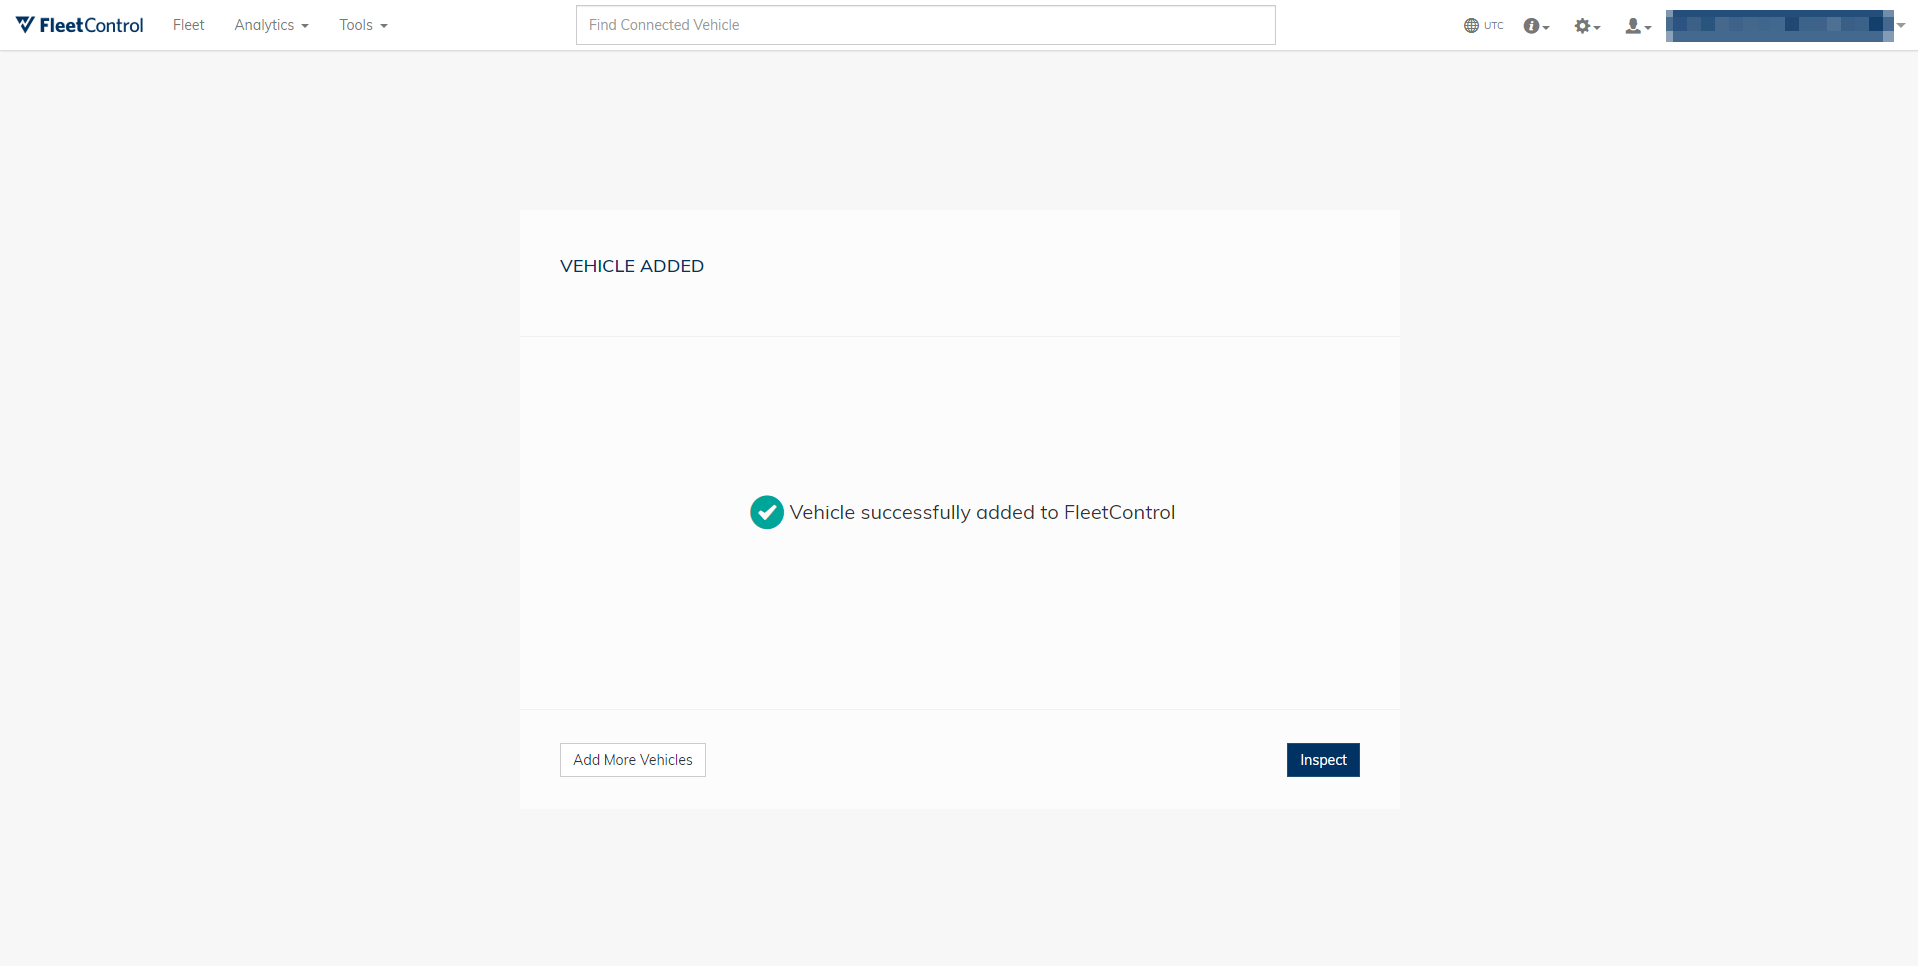
Step 2: If adding the vehicle to your fleet was successful, you can either restart the process to Add more vehicles or Inspect the vehicle you just added.
Adding multiple vehicles at once⚓︎
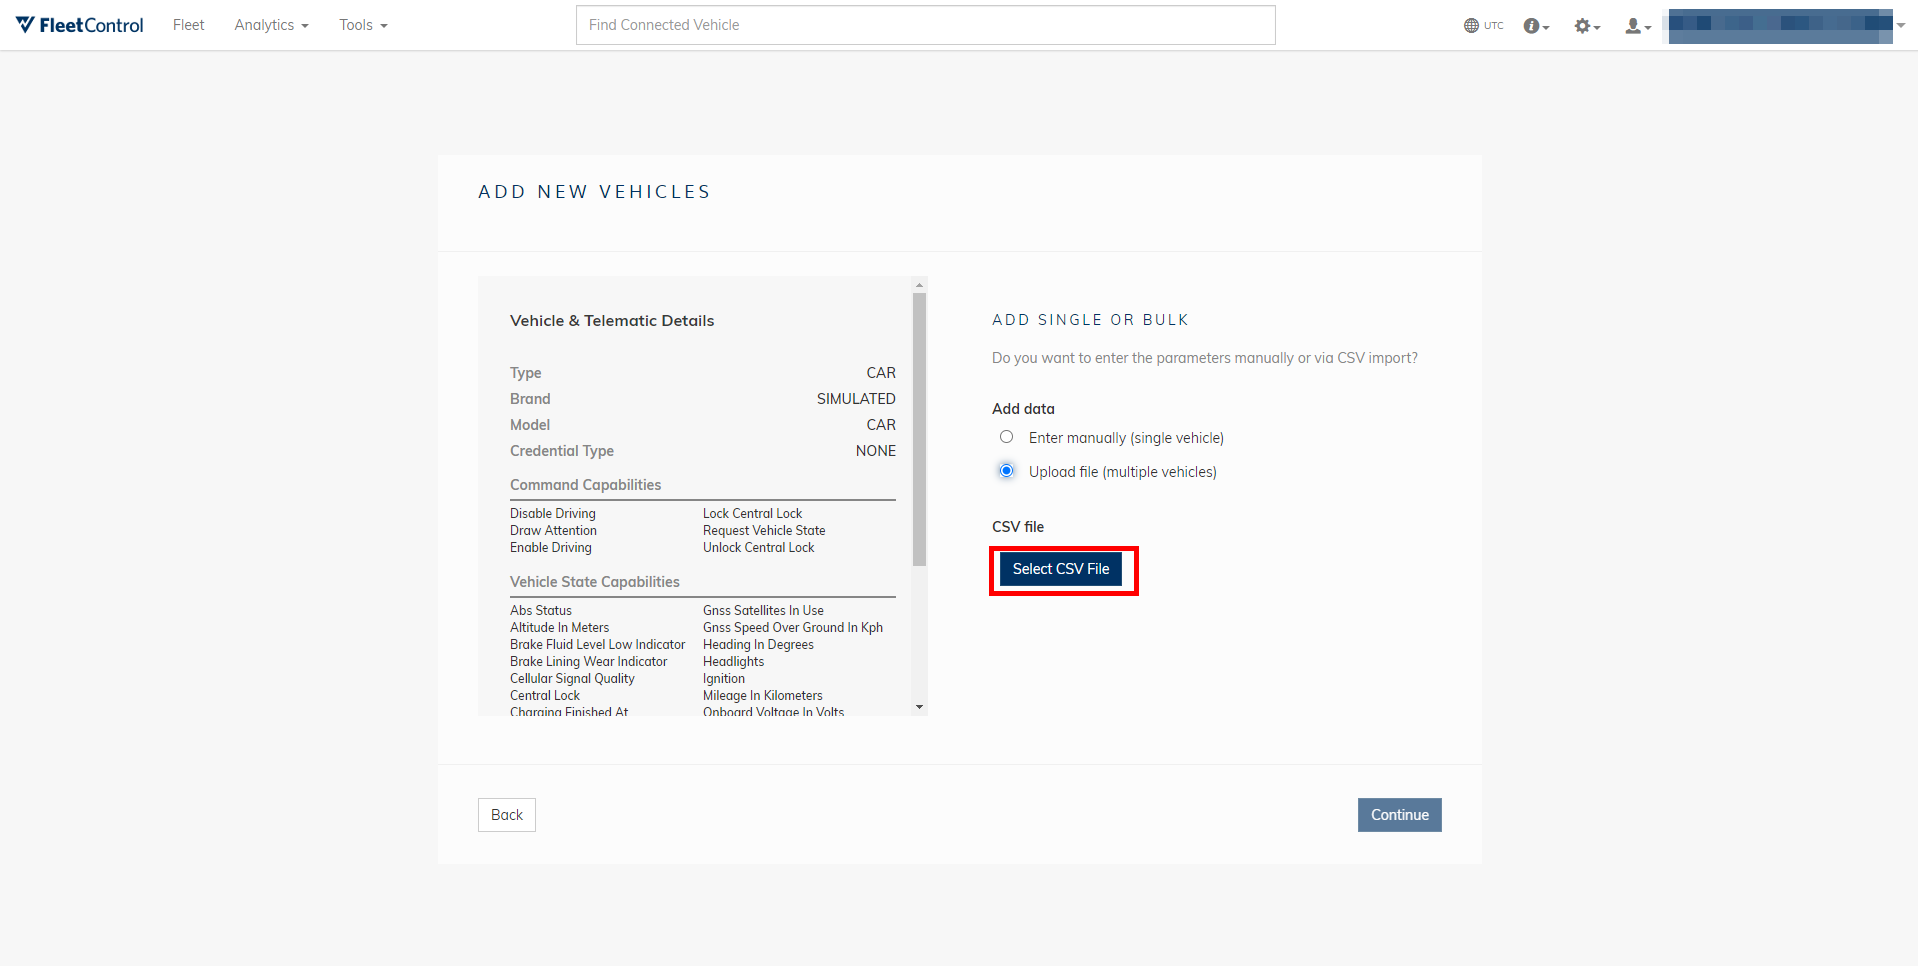
Step 1: To add more than one vehicle at once, you have to upload a CSV-file containing the vehicles’ data. In this file, each line refers to a single vehicle while each column contains a single type of data, such as the license plate or VIN. Tick Upload file (multiple vehicles) and use the Select CSV File button to upload your CSV-file.
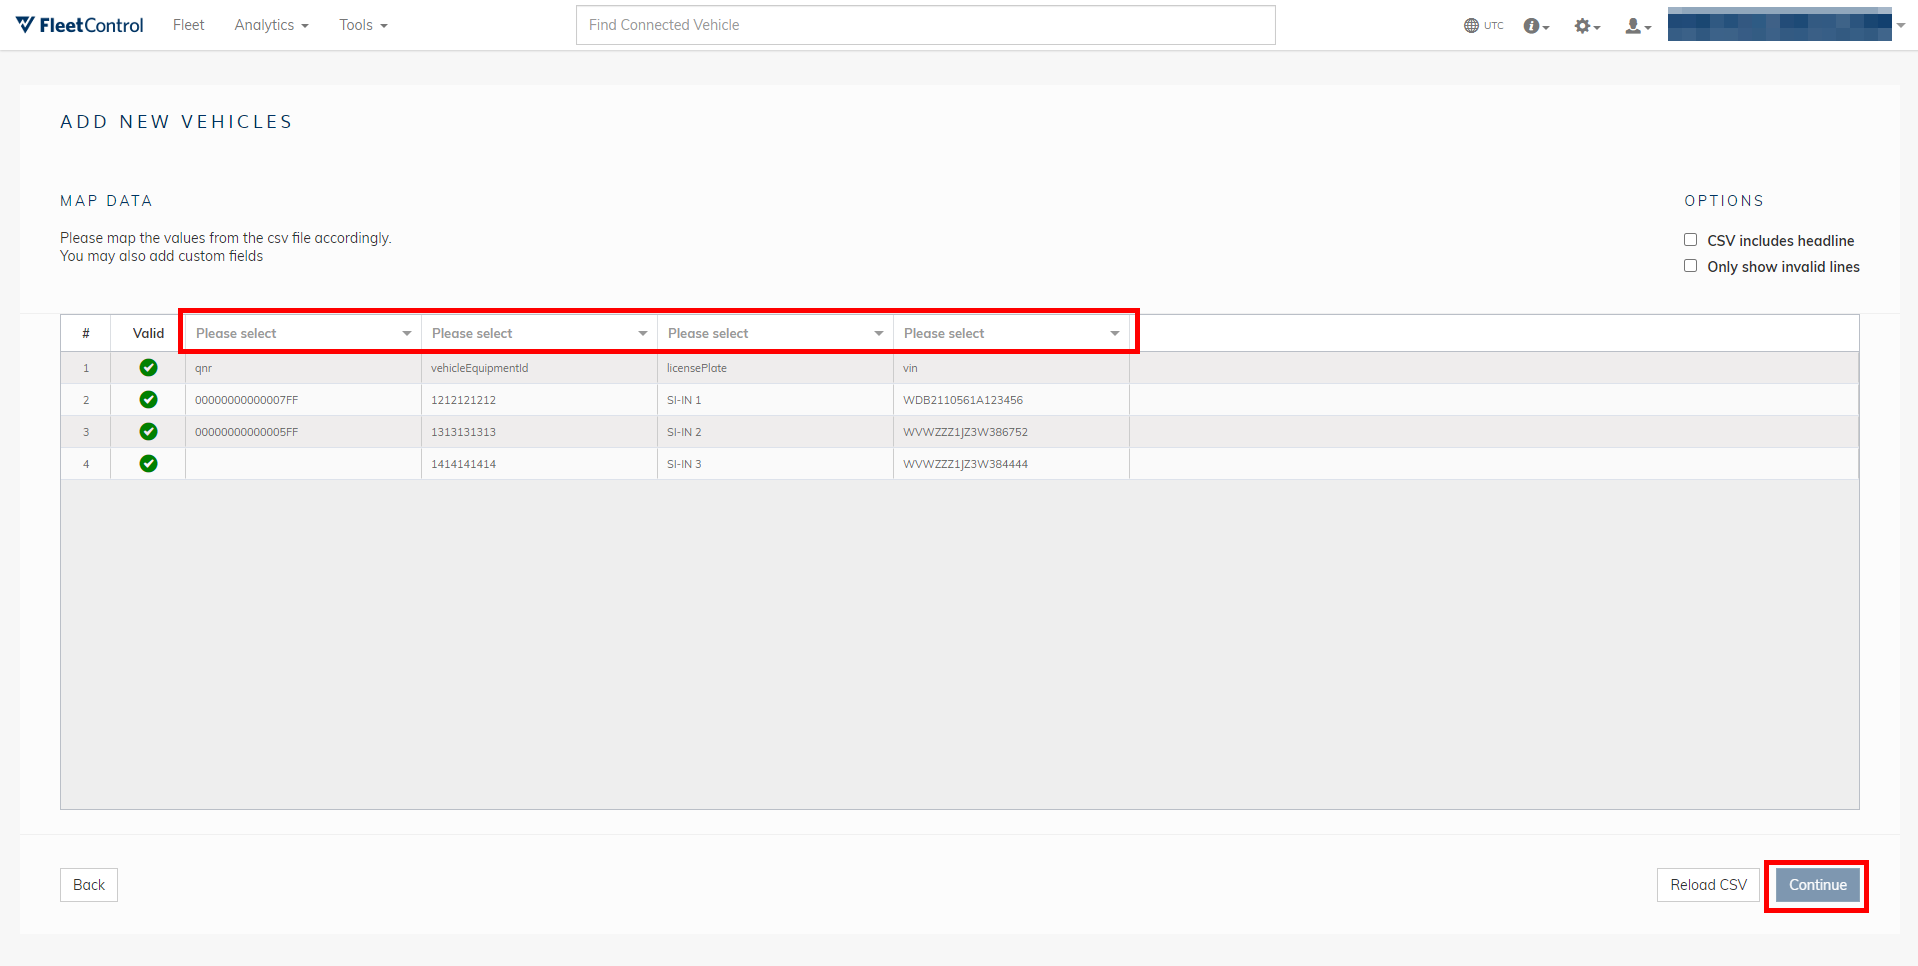
Step 2: For each column, select the type of data it contains. In the example below, we would select telematicsUnitID for the first column. If the type of data a column contains is not included in the selection, select Add custom field from the drop-down menu. If your CSV-file includes a headline that contains no vehicle data, tick the appropriate box in the top right corner.
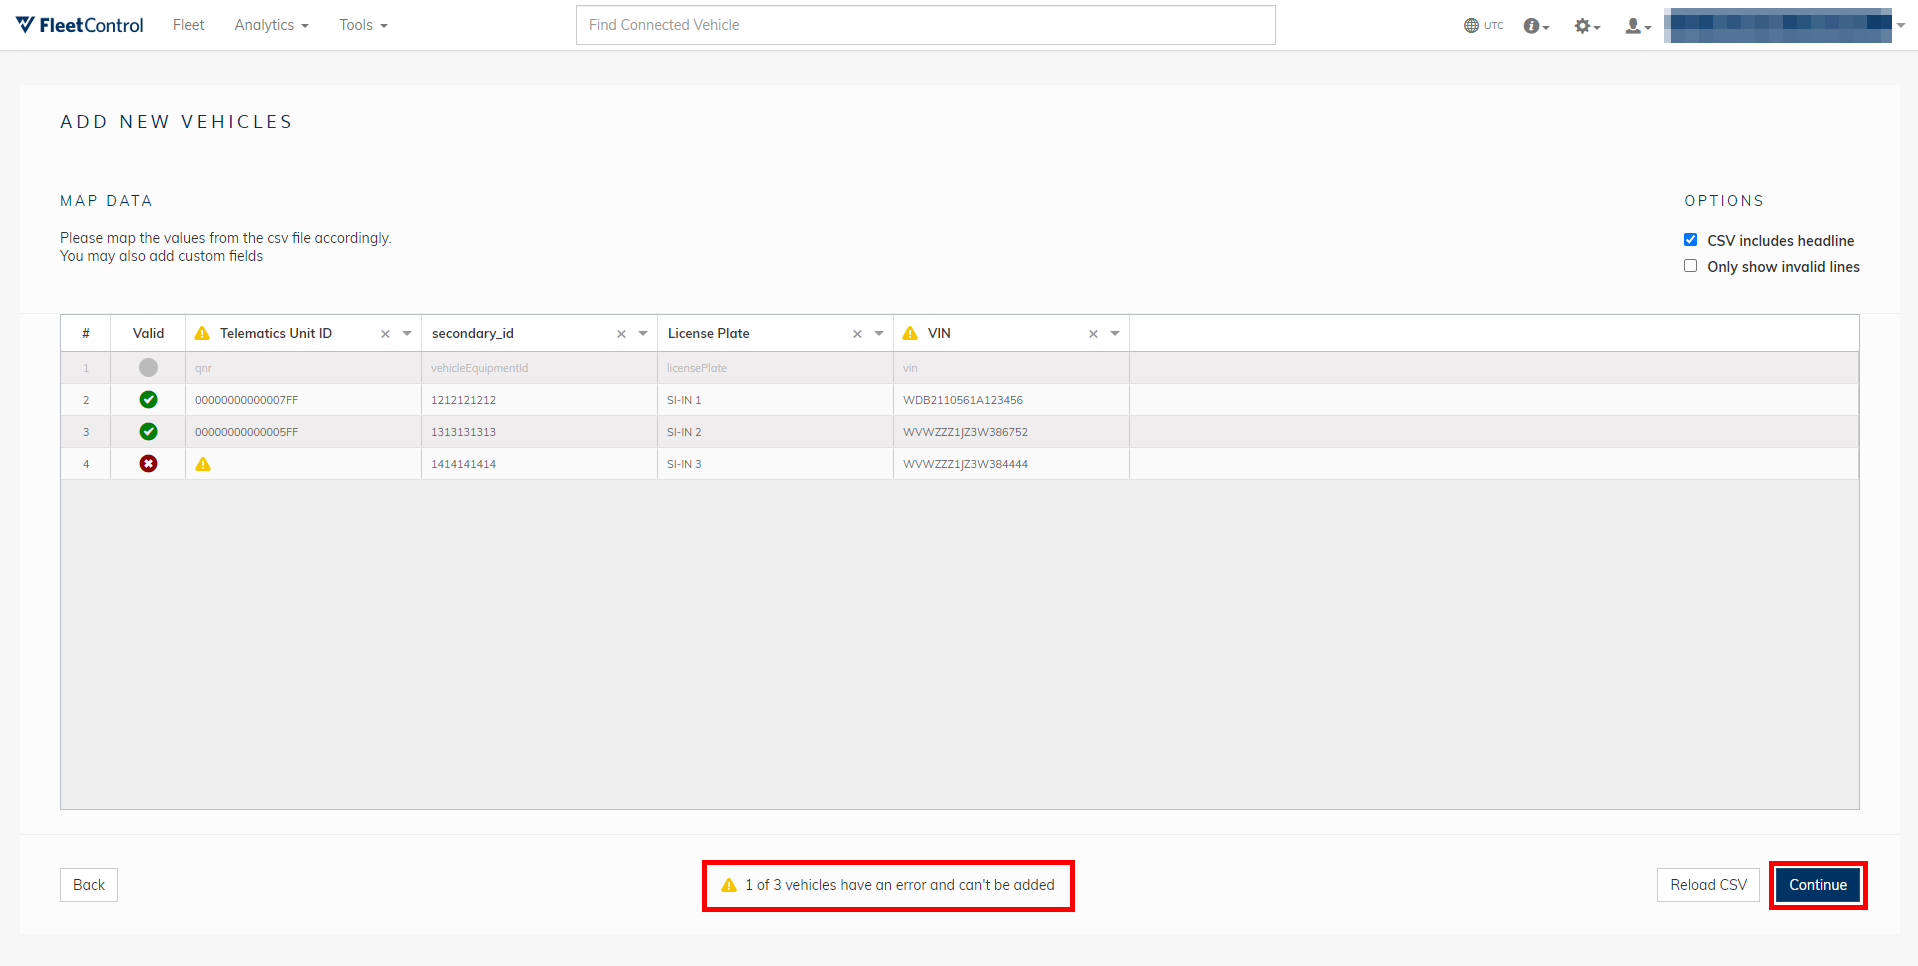
Step 3: After you have defined each column’s data, select Continue. At this point, a warning is displayed for any vehicles whose data contains errors. You can either edit your CSV-file and re-upload it by selecting Back or Continue with all vehicles from the file, which are without any errors. You can easily see all errored items in the list by selecting Only show invalid lines in the upper-right corner. If you continue while still having errors in the file, all items with errors will be ignored for the next steps.
Step 4: You are shown a summary of the completed process. If your CSV-file contained errors, you can attempt to fix them by selecting Review and try again. Alternatively, select Continue, to continue the process with all valid items.

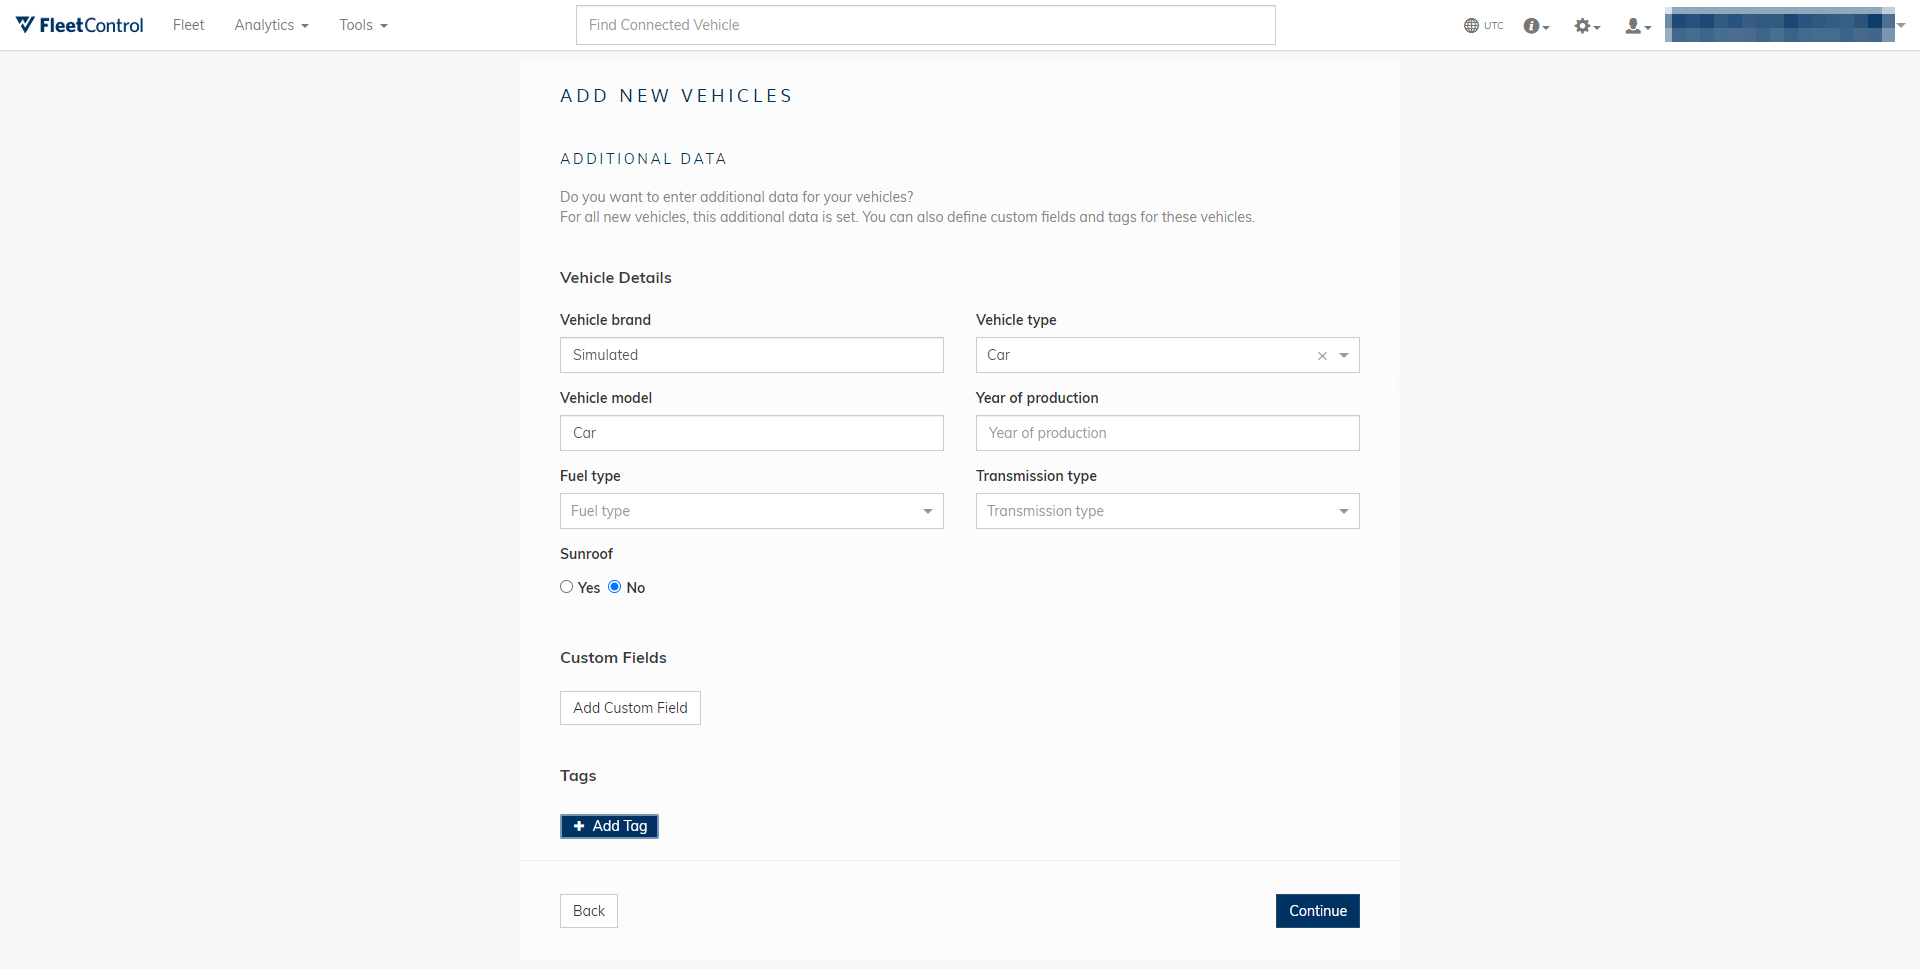
Step 5: Enter any additional data or custom fields you wish to add to all added vehicles. You can also assign tags. Select Continue to complete the Add vehicles process.
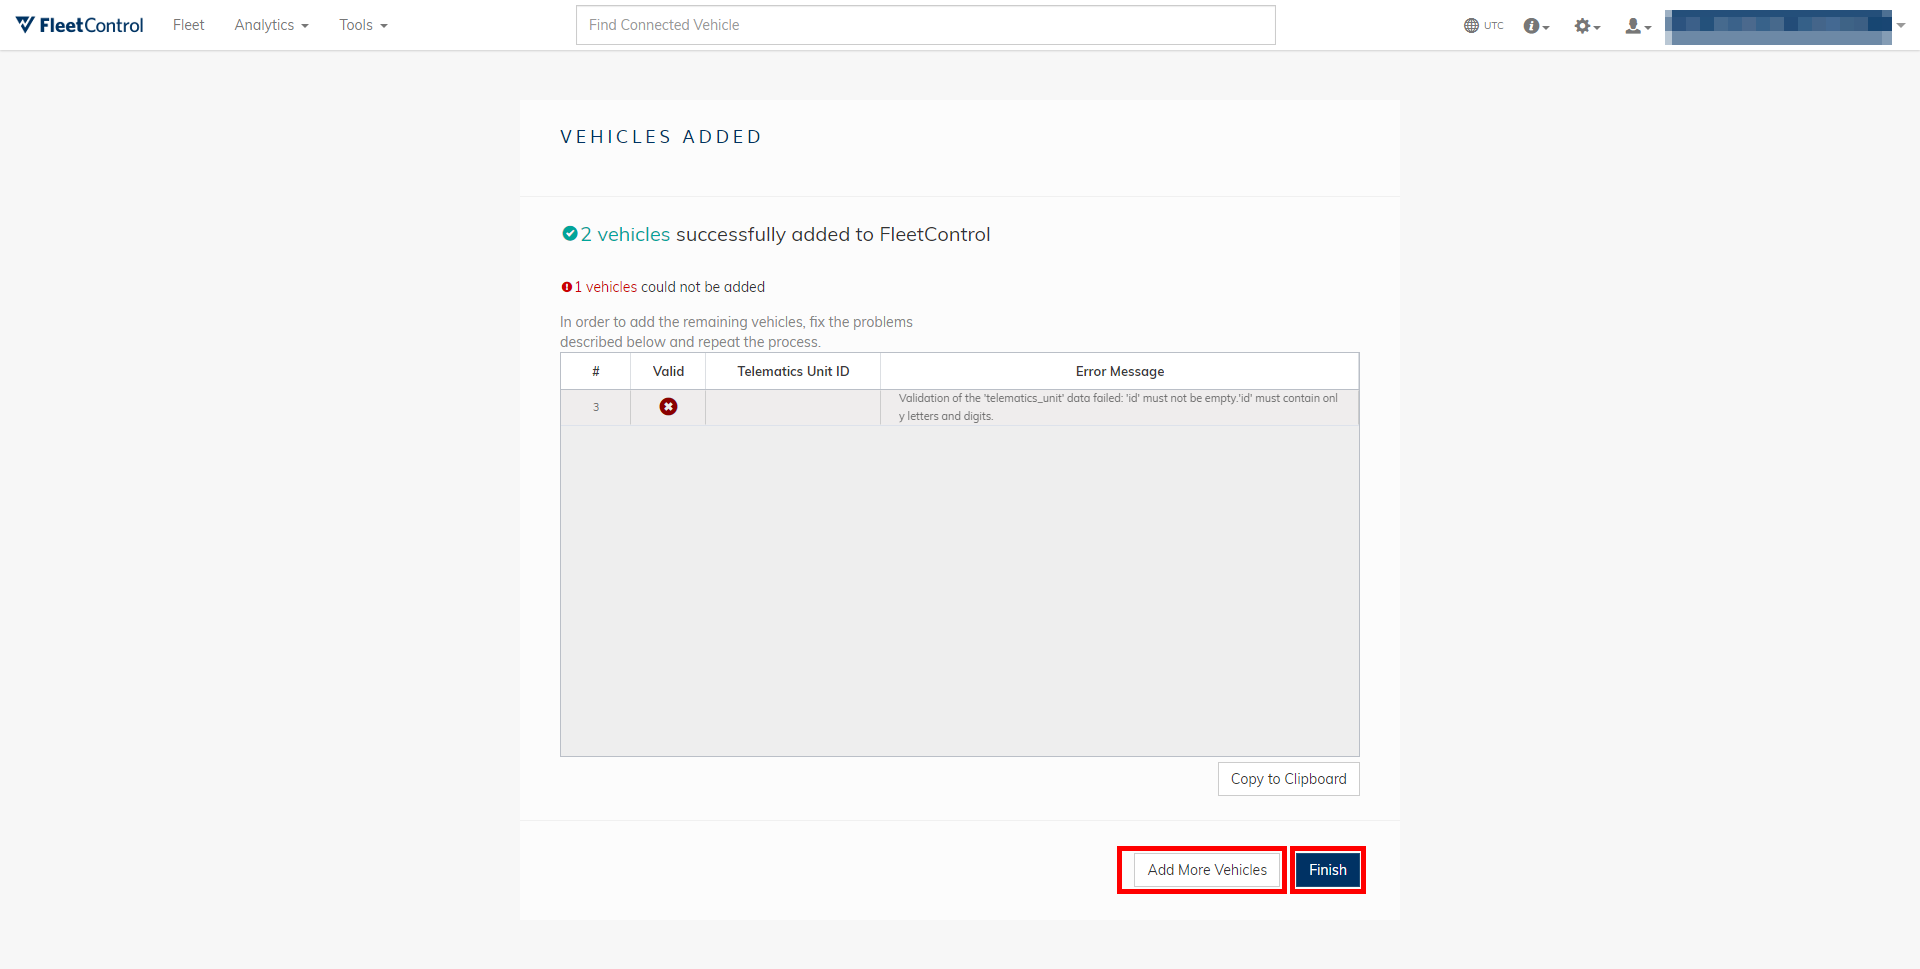
Step 6: This screen provides an overview of how many vehicles were added successfully as well as how many vehicles could not be added. If you wish to add the erroneous vehicles to your fleet, edit your CSV-file to fix the indicated errors and select Add more Vehicles to restart the Add vehicles process. Select Finish to exit the tool.
Viewing recently added vehicles⚓︎
To find details on fleet units that were recently added using the Add Vehicles tool, select Show results of recently added vehicles process….