Configuration
If you are using our CloudBoxx API, please use this documentation.
Selecting a CloudBoxx⚓︎
Choose your telematics unit using one of these three methods:
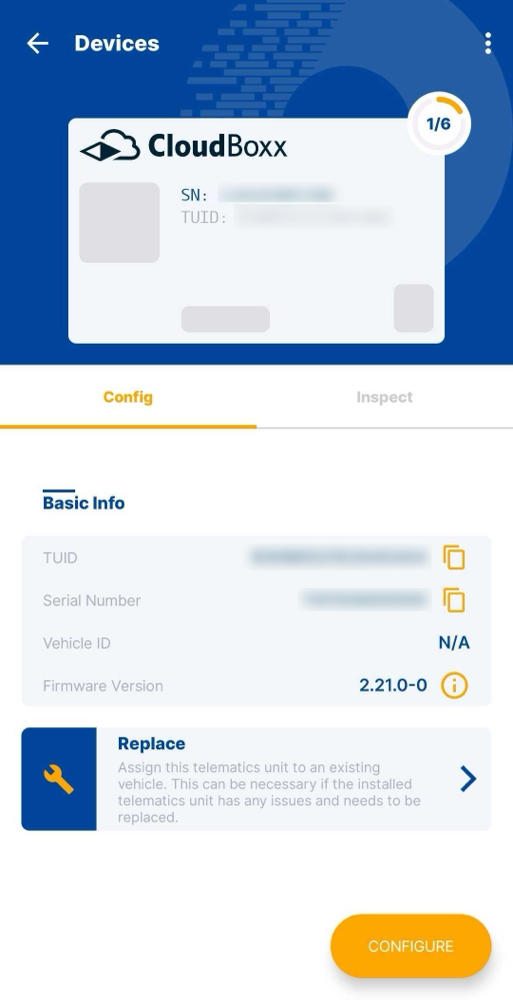
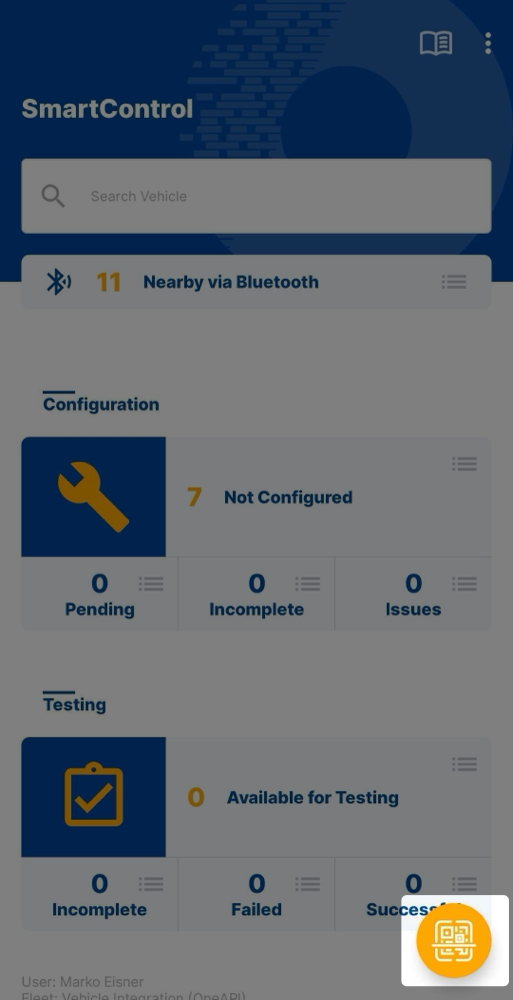
From Available Units List⚓︎
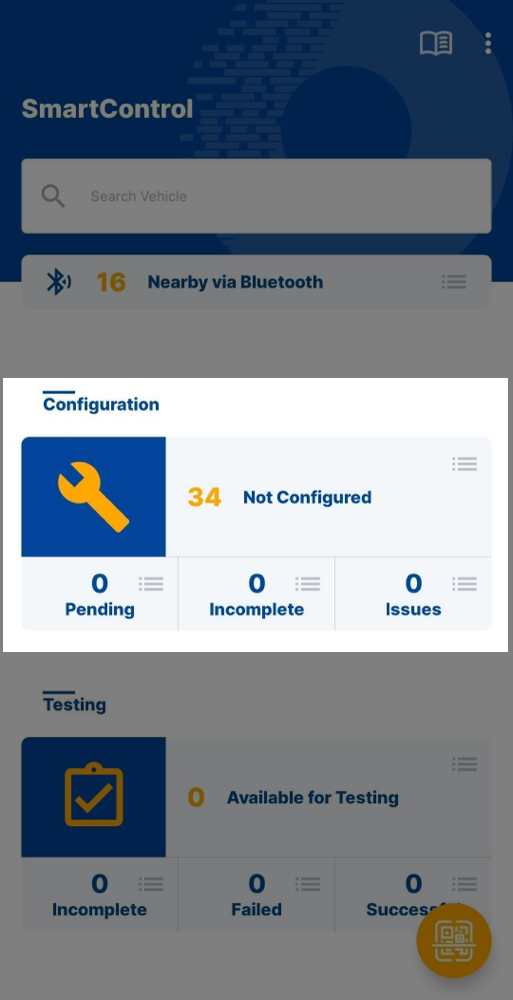
- On the home screen, select Configuration
- Find your telematics unit in the list (units appear here if they’re unassigned or from archived vehicles)
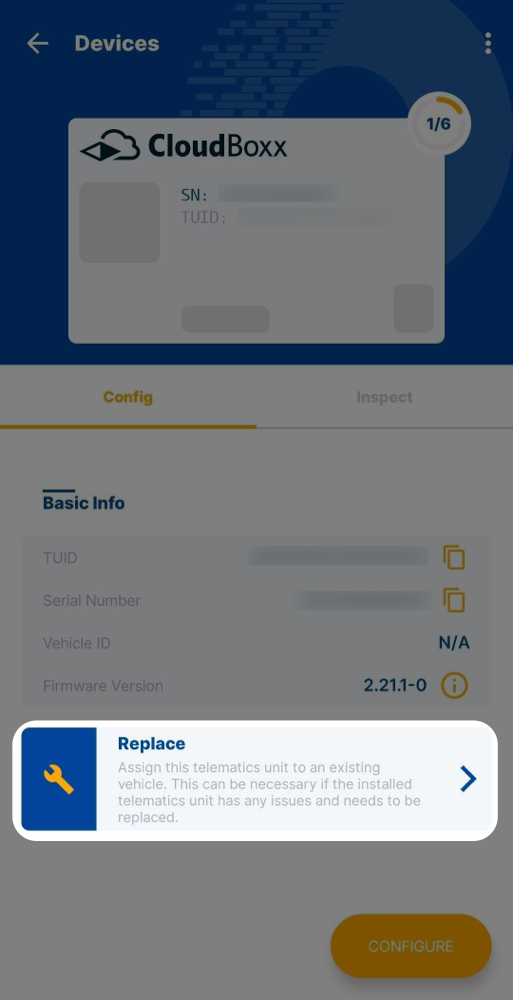
- Open the unit’s detailed view
- Select Configure


Via Bluetooth Detection⚓︎
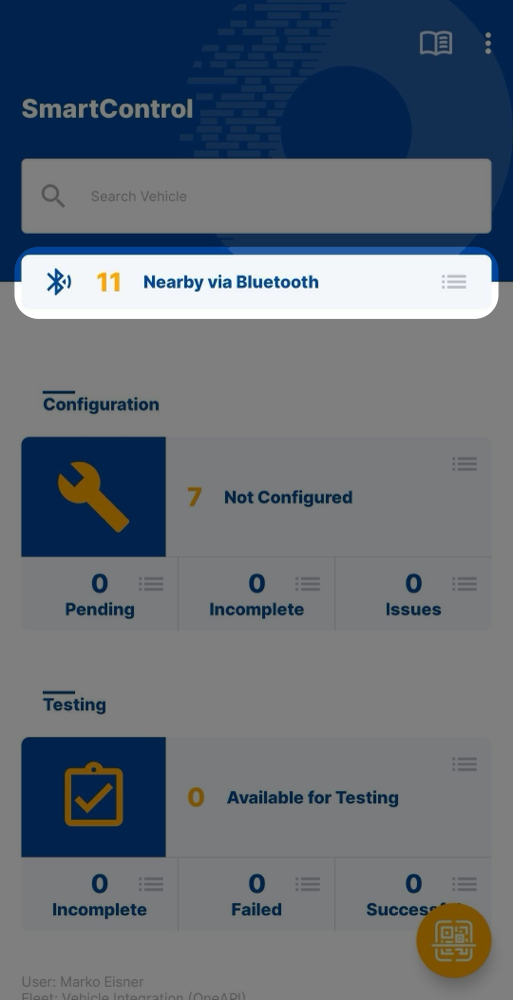
- On the home screen, select Nearby via Bluetooth
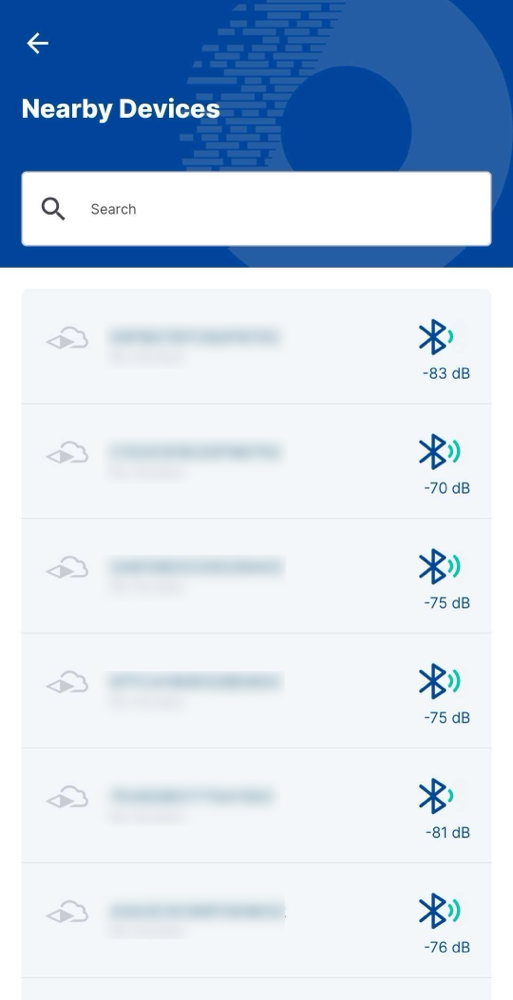
- Find your telematics unit from the detected devices
- Open the unit’s detailed view
- Select Configure
QR Code Scanning⚓︎
Select the orange scan button in the bottom right corner of the home screen to scan the CloudBoxx’s QR code.
Configuration Steps⚓︎
Important
License plates and VINs must be unique within your fleet.
Complete these steps in order:
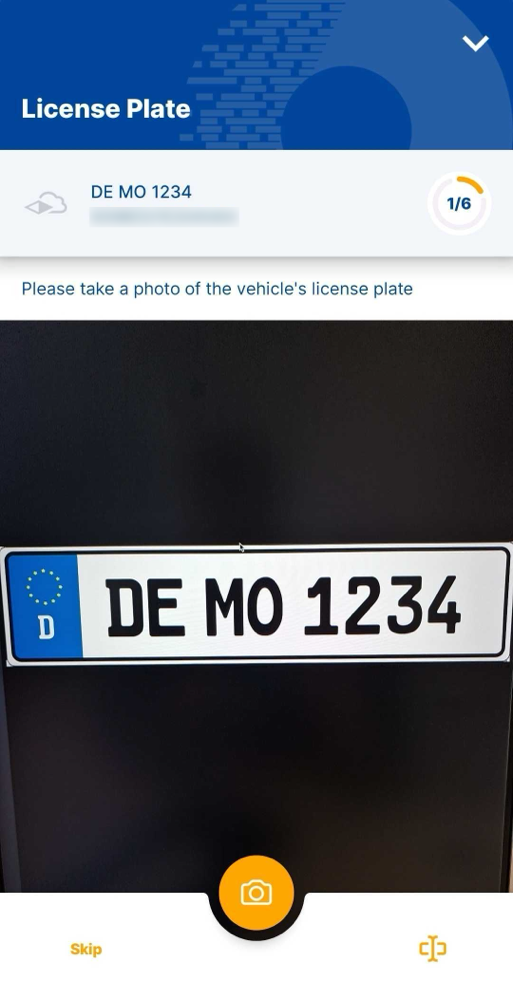
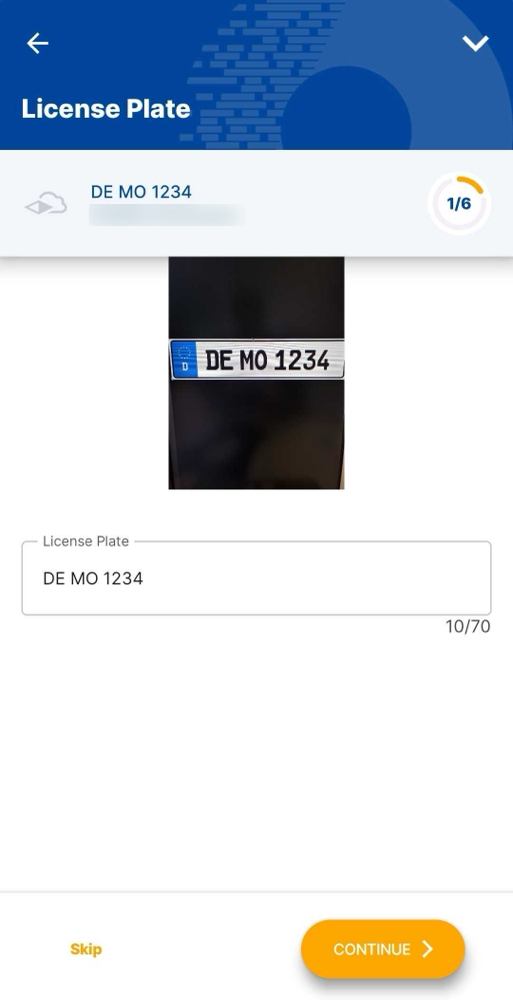
Step 1: License plate⚓︎
Scan the license plate with your camera or select the manual entry button (bottom right) to type it in.
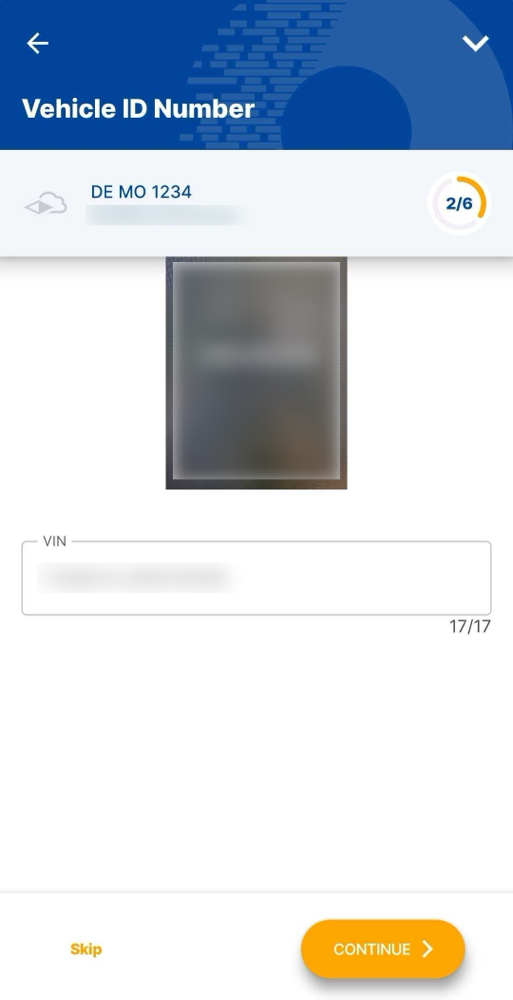
Step 2: VIN⚓︎
Scan the vehicle’s VIN or select the manual entry button (bottom right) to type it in.

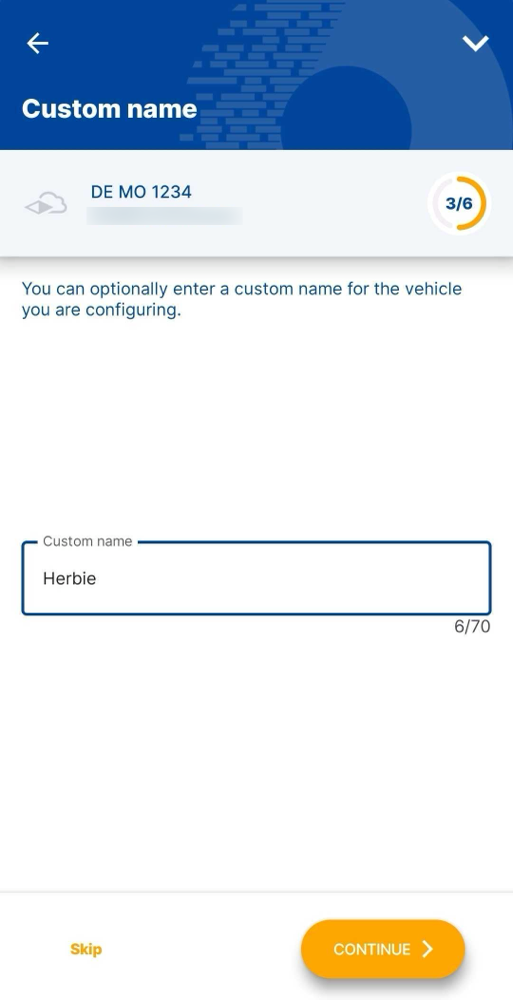
Step 3: Custom Name (Optional)⚓︎
Enter a custom name for the vehicle if desired.
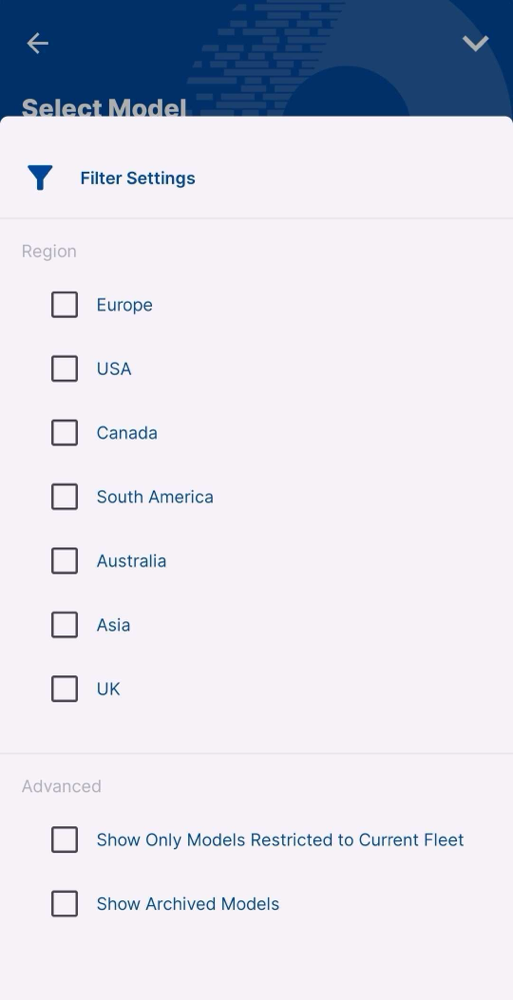
Step 4: Vehicle Model⚓︎
Select the manufacturer and model. Use the filter options to find your specific vehicle model.

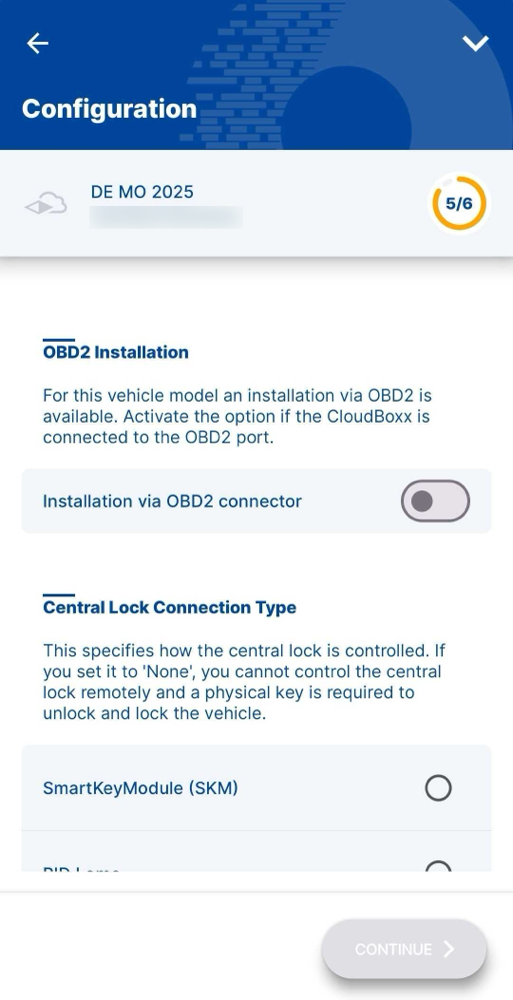
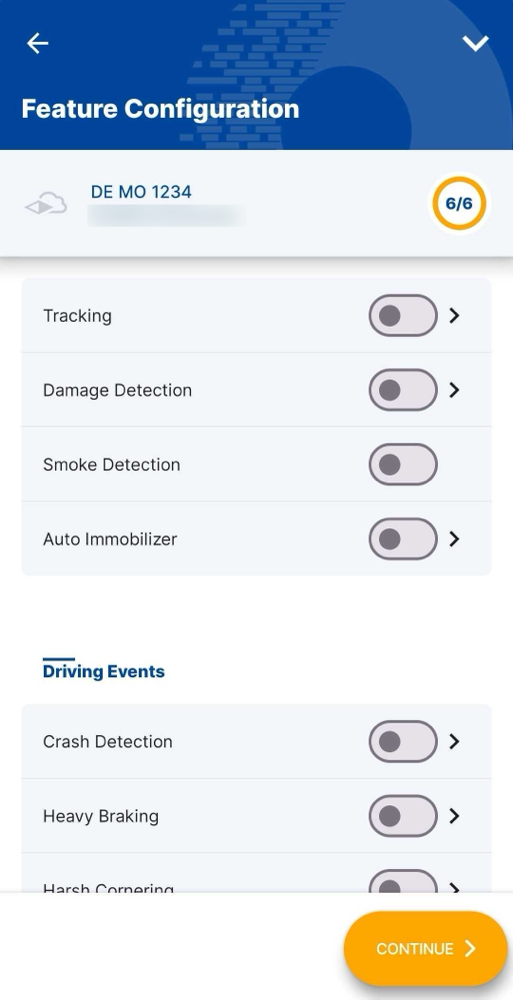
Step 5: Configuration Options⚓︎
Choose the appropriate settings for your vehicle model. Some options may be unavailable depending on your vehicle.
Step 6: Apply Configuration⚓︎
Review all settings and select Apply config to send the configuration to your CloudBoxx.
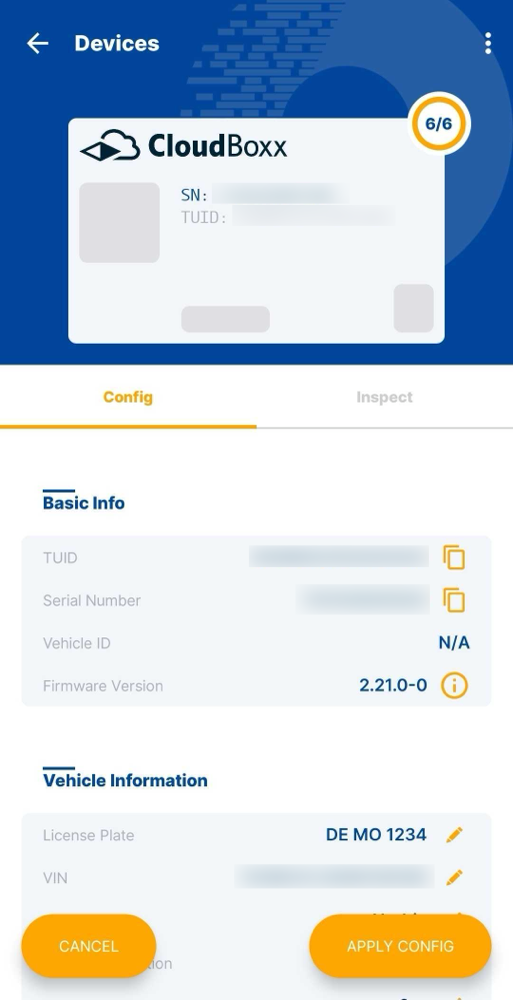
Wait for the setup to complete. The status will show “Setup in Progress” until finished, then display a green checkmark.


Replace a CloudBoxx⚓︎
To replace a malfunctioning CloudBoxx with a new one:
- Select the replacement CloudBoxx
- Select Replace
- Choose the CloudBoxx you want to replace
- The old configuration automatically copies to the new unit