Getting Started with Installation & Maintenance⚓︎
Use Installation & Maintenance to assign CloudBoxx installation and maintenance work to service partners with job-specific vehicle access.
Prerequisites⚓︎
Administrative access to FleetControl.
Invite a Service Partner⚓︎
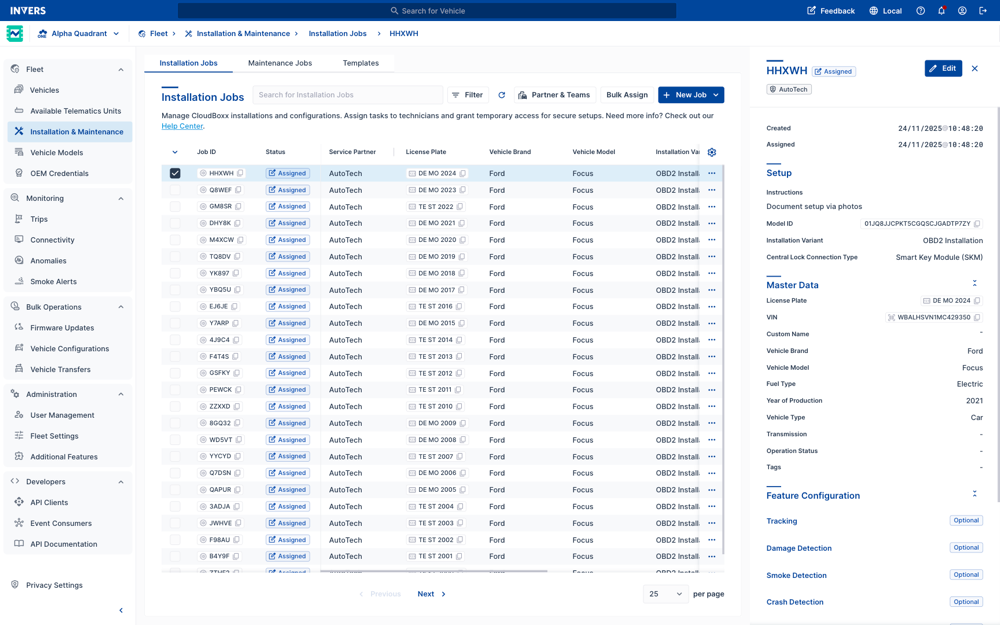
- Go to Fleet → Installation & Maintenance → Installation Jobs.
- Select Partner & Teams.
- Enter the partner’s email address and select Invite.
- The invitation shows PENDING until the partner completes registration.
Note
One invitation per fleet is required. Send separate invites if you operate multiple fleets.
Create Your First Job⚓︎
- Select New Job → Create Job.
-
Enter the job details:
- Vehicle details (VIN, license plate)
- Planned service date
- Optional: CloudBoxx configuration preset
- Notes or special instructions
-
Select Save to keep the job as PENDING, or Save & Assign to assign it to a service partner immediately.
Track Progress⚓︎
Go to Installation & Maintenance → Installation Jobs and use the Status filter:
- PENDING – draft, still editable
- ASSIGNED – available for technicians
- RUNNING – technician has started work
- SUCCEEDED – installation completed
- FAILED – technician could not finish; check their comment for details
Access to the vehicle ends automatically when a job is SUCCEEDED or FAILED.
Note
FleetControl does not send notifications when jobs complete or fail. Check the job list regularly.
What’s Next⚓︎
The Mobility Provider Guide covers everything beyond the basics: